
If you’re looking for a simple and effective way to empty your Dyson v11 vacuum, I’ve got you covered. In this article, I’ll walk you through the step-by-step process of disassembling and cleaning your Dyson v11, so you can keep it running at its best performance.
When it comes to emptying the Dyson v11, it’s important to follow the proper procedure to ensure a thorough clean. First, make sure the vacuum is turned off and unplugged from any power source. Then, locate the release button or latch on the dustbin section of your Dyson v11. Press or slide this button/latch to detach the bin from the main body of the vacuum.
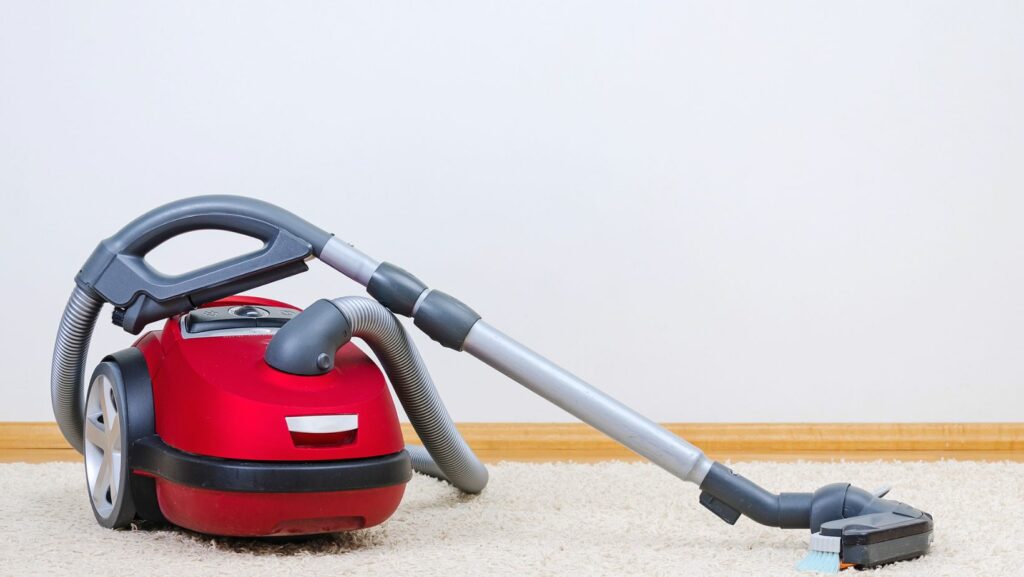
How To Empty Dyson v11
- Power off and unplug: Before starting any disassembly, make sure your Dyson v11 vacuum is powered off and unplugged from the electrical outlet. This ensures your safety during the cleaning process.
- Find a suitable work area: Locate an open space where you can comfortably work on your Dyson v11 without any obstructions or potential hazards. A clean table or countertop would be ideal for this purpose.
- Gather necessary tools: Gather all the tools you’ll need for disassembling your Dyson v11, such as a screwdriver, soft cloth, and cleaning brushes. Having these items readily available will save you time during the process.
- Evaluation the user manual: Familiarize yourself with the instructions provided in the user manual that came with your Dyson v11 vacuum cleaner. This will give you an overview of how to safely dismantle and clean different components of the device.
- Inspect for damage: Before disassembling your Dyson v11, take a close look at its exterior to check for any visible damage or worn-out parts that may need replacement or repair.
- Clear out debris: Emptying any remaining debris from the dustbin is essential before beginning disassembly. Ensure that there are no large clumps of dirt or tangled hair inside that could obstruct your cleaning efforts later on.
- Remove accessories: If applicable, remove any additional attachments or accessories from your Dyson v11 vacuum cleaner before proceeding with disassembly. This will allow easier access to different parts and prevent accidental damage.
Removing the Battery
- Safety First: Before starting any disassembly process, it’s important to ensure your safety. Make sure to unplug the vacuum cleaner from its power source to avoid any electrical accidents during the battery removal.
- Locating the Battery: The Dyson v11 has a detachable battery pack located at the rear end of the device. It’s easily accessible and can be removed with minimal effort.
- Release Mechanism: To remove the battery, locate the release mechanism on top of the handle near where it connects to the main body of the vacuum cleaner. There is usually an arrow or indication that shows which way to slide or push in order to release it.
- Slide and Remove: Using your thumb or finger, slide or push in accordance with the indicated direction until you hear a click sound or feel a slight resistance release. This signifies that the battery has been successfully detached from its connection point.
- Carefully Lift: Once released, carefully lift up on one end of the battery pack while supporting it with your other hand underneath for stability. Avoid pulling too hard, as this may damage either

Detaching the Dustbin
- Locating the Dustbin Release Button: To begin, locate the dustbin release button on your Dyson v11. It’s usually located near the top of the handheld unit or at the back of the main body.
- Pressing and Holding: Firmly press and hold down on the dustbin release button. This action will unlock and release the dustbin from its position.
- Removing the Dustbin: While still holding down on the release button, gently pull outwards on the dustbin to separate it from the rest of the vacuum cleaner.
- Emptying the Dustbin: Once detached, take caution not to spill any debris or allergens as you empty it into a trash bag or bin. Tap gently against a surface to remove any stubborn dirt or particles stuck inside.
- Cleaning and Maintenance: After emptying, inspect both surfaces of the dustbin for any buildup or clogs that may hinder its functionality. Use a soft brush or cloth to remove any residue or debris that might be present.
- Reattaching:** When you’re finished cleaning and inspecting both surfaces, aligns them correctly and push firmly until you hear a click sound indicating that they are securely reattached.