
How to Take Apart a Shark Lift-Away Vacuum
Taking apart a Shark Lift-Away vacuum may seem like a daunting task, but with the right knowledge and tools, it can be done easily. Whether you need to clean or repair your vacuum, disassembling it can give you access to hard-to-reach areas and ensure optimal performance. In this guide, I’ll walk you through the step-by-step process of dismantling your Shark Lift-Away vacuum so that you can tackle any maintenance or cleaning tasks with confidence.
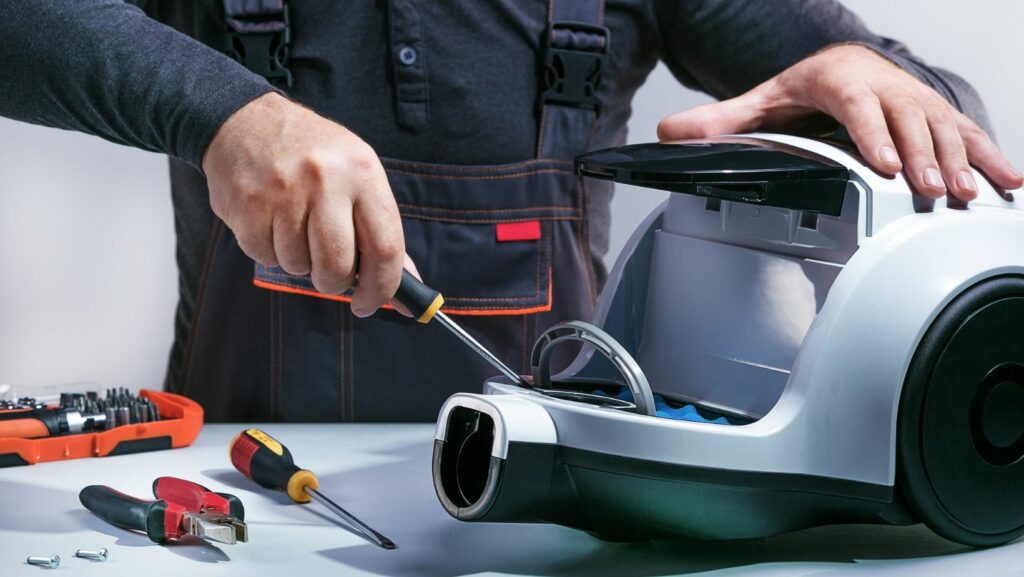
Before we dive into the disassembly process, it’s important to gather all the necessary tools. You’ll typically need a screwdriver (either flathead or Phillips), pliers (needle-nose if possible), and possibly a pair of scissors or utility knife. Additionally, make sure to unplug your vacuum from the power source before beginning any disassembly.
Once you have everything ready, we’ll start by removing different components of the Shark Lift-Away vacuum in a systematic manner. By following these instructions carefully, you’ll be able to take apart your vacuum efficiently without causing any damage. Let’s get started on rejuvenating your Shark Lift-Away and bringing back its peak performance!
Remember, always refer to your manufacturer’s manual for specific instructions as different models may have slight variations in their assembly/disassembly processes. Now let’s jump into each step in detail and unravel the secrets of dismantling your Shark Lift-Away vacuum!

Step-by-Step Guide to Taking Apart the Shark Lift-Away Vacuum
Taking apart your Shark Lift-Away vacuum may seem daunting at first, but with a little guidance, it can be a straightforward process. Follow this step-by-step guide to disassemble your vacuum and access its various components for cleaning or maintenance purposes.
- Prepare Your Workspace: Before you begin, ensure that you have enough room to work comfortably and gather the necessary tools such as a screwdriver or pliers. It’s also recommended to unplug the vacuum from power for safety reasons.
- Remove the Dust Cup: The dust cup is where dirt and debris are collected during vacuuming. Start by pressing the release button located on the top of the dust cup handle. Once released, pull up on the handle to remove it from the main unit.
- Detach the Filters: The Shark Lift-Away vacuum has multiple filters that need regular cleaning or replacement. Locate these filters, which are typically found near or inside the dust cup compartment. Depending on your model, there may be a pre-motor filter and a post-motor filter that need attention.
- Clean or Replace Filters: To clean reusable filters, gently tap them against a garbage bag or sink to remove loose dirt and debris. If they appear excessively dirty or damaged, it’s best to replace them with new ones for optimal performance.
- Access Brush Roll and Belt: Flip over your Shark Lift-Away vacuum so that you have access to its underside or brush roll area. Locate any screws holding the brush roll cover in place and use a screwdriver to remove them if needed.
- Remove Brush Roll Cover: Once screws are removed (if applicable), carefully lift off the brush roll cover to reveal the brush roll itself along with its accompanying belt.
- Inspect and Clean Brush Roll: Take this opportunity to inspect both ends of the brush roll for any tangled hair, debris, or obstructions. Use scissors or your fingers to carefully remove any entangled material. Additionally, consider cleaning the brush roll itself with a damp cloth or mild soap solution.
- Reassemble the Vacuum: After cleaning or replacing filters and addressing any issues with the brush roll, it’s time to reassemble your Shark Lift-Away vacuum. Follow the reverse order of steps outlined above, ensuring that all parts are securely in place before resuming normal use.
Remember, if you encounter any difficulties during this process or have specific concerns about your Shark Lift-Away vacuum model, it’s always wise to consult the manufacturer’s manual or contact their customer support for guidance.