
Contents
How to Take Apart a Shark Vacuum
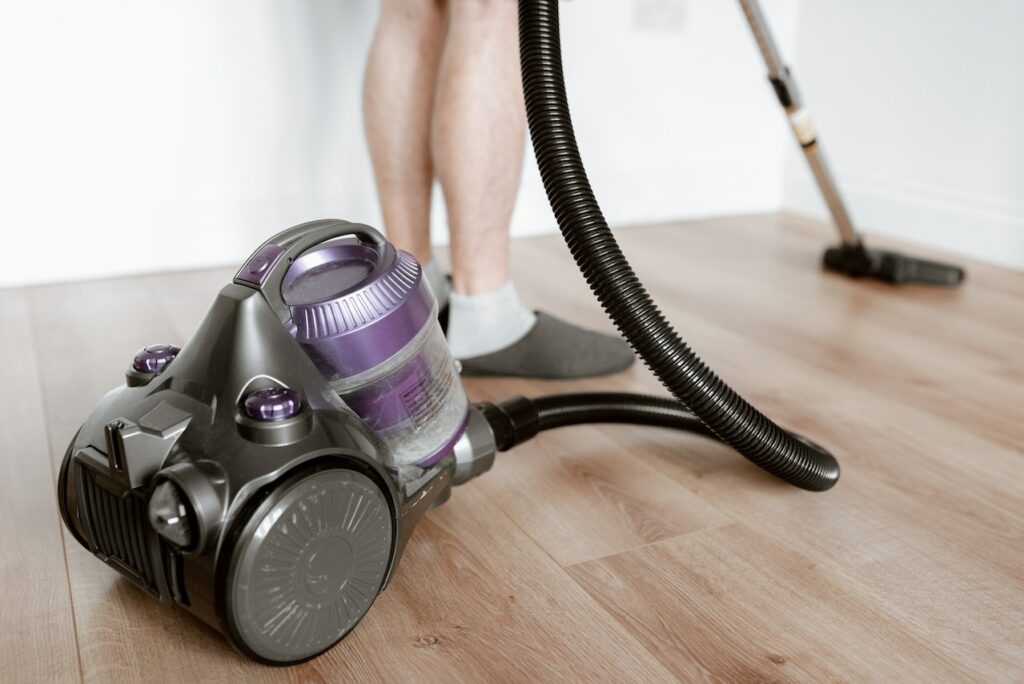
Taking apart a Shark vacuum may seem like a daunting task, but with the right knowledge and tools, it can be a straightforward process. In this article, I’ll guide you step-by-step on how to disassemble your Shark vacuum for cleaning or troubleshooting purposes.
Firstly, before starting any disassembly, ensure that your Shark vacuum is unplugged from the power source. Safety should always come first when working with electrical appliances. Once you’ve done that, locate the different components of your Shark vacuum such as the dust cup, brush roll, filters, and attachments.
To access the dust cup, simply press the release button or lever (depending on your model) and remove it from the main body of the vacuum. Empty out any debris and clean it thoroughly using mild soap and warm water. Allow it to dry completely before reassembling.
Next, if you need to clean or inspect the brush roll, flip over your Shark vacuum and locate the brush roll cover. Depending on your model, there may be one or two screws holding it in place. Use a screwdriver to remove these screws and carefully lift off the cover. You can now remove any tangled hair or debris from the brush roll itself.
To reach the filters for cleaning or replacement, consult your user manual as different models have varying filter locations. Some common areas include inside the dust cup compartment or underneath a separate filter cover. Gently remove each filter and rinse them under running water until they’re free from dirt and grime.
Taking Apart the Main Body
When it comes to taking apart a shark vacuum, it’s important to approach each step with caution and precision. In this section, we’ll delve into how to dismantle the main body of your shark vacuum. Let’s get started!
Remove the main body cover
The first step in disassembling the main body of your shark vacuum is to remove the cover. This allows you access to the internal components of the machine. To do this:
- Ensure that your shark vacuum is unplugged from any power source for safety purposes.
- Locate the latches or clips securing the main body cover in place.
- Gently release these latches or clips and carefully lift off the cover.
Locate and detach the screws holding the main body in place
Once you’ve removed the cover, you’ll need to locate and detach any screws that are holding the main body of your shark vacuum in place. Here’s how:
- Look for visible screws on both sides of the main body.
- Use a suitable screwdriver or tool (often a Phillips head) to unscrew them counterclockwise.
- Keep track of where each screw goes as they may vary in size or length.

Reassembling Your Shark Vacuum
Now that we’ve successfully disassembled our Shark vacuum, it’s time to put all the pieces back together. Reassembling your vacuum may seem a bit daunting at first, but with a little patience and attention to detail, you’ll have your vacuum up and running in no time. Follow these steps to ensure a smooth reassembly process:
- Organize the Parts: Before diving into reassembly, take a moment to organize all the parts you have removed. Lay them out in an orderly manner so that you can easily identify each component as you go along.
- Refer to the Manual: If you find yourself unsure about where certain parts belong or how they fit together, consult the user manual provided by Shark. The manual usually contains detailed diagrams and instructions specific to your model of vacuum.
- Start from the Bottom: Begin reassembling your Shark vacuum from the bottom up. This means starting with the base or main body of the vacuum and gradually attaching other components such as filters, brushes, and attachments.
- Check for Alignment: As you attach each part, make sure they are aligned properly before securing them in place. Misaligned parts may cause performance issues or prevent proper functioning of your vacuum.
- Secure Fasteners Tightly: Use caution while tightening screws or fasteners during reassembly. Ensure that they are securely fastened without overtightening, as this can damage fragile components or cause misalignment.
- Test Functionality: Once everything is back in place, give your vacuum a quick test run before fully completing assembly. Plug it in and turn it on to check if all functions are working correctly.
By following these steps and taking care during reassembly, you’ll have your Shark vacuum back together and ready to tackle cleaning tasks once again. Happy vacuuming!