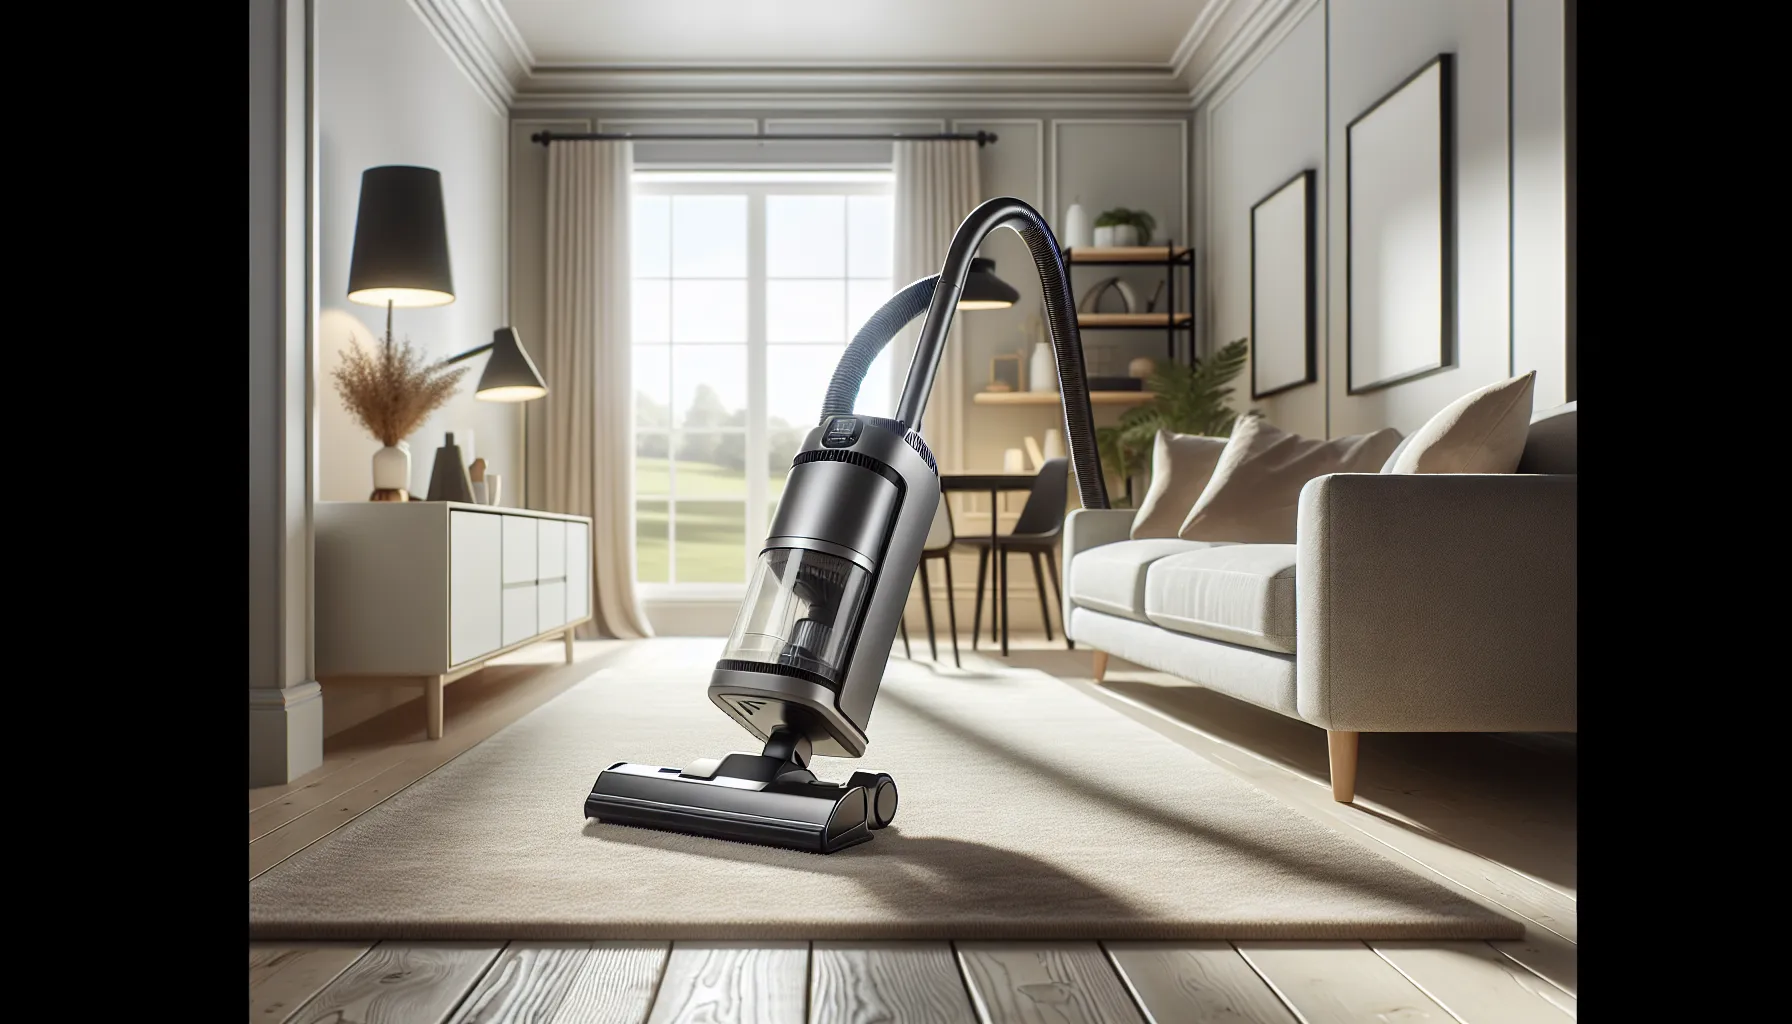
Have you ever felt like your Shark vacuum is playing games? You know, it only runs when you tilt it back? If that’s your current cleaning dilemma, you’re not alone. We’ve all been there, wrestling with appliances that seem to have a mind of their own. Most of us just want a clean floor and an easy vacuuming experience, without having to engage in an arm workout. In this guide, we’re going to break down this pesky issue, explore what might be causing it, and arm ourselves with the troubleshooting tips we need to gain the upper hand on our cleaning tools.
Shark Vacuum Only Runs When Tilted Back

Picture this: you’re just about to tackle the dreaded mess on your living room carpet when your vacuum suddenly insists on only running when tilted back. Frustrating, right? We get it. This issue usually indicates a problem with the upright mode of the vacuum. When the vacuum is upright, it’s designed to stop the brush roll from spinning to prevent scattering dirt. If it won’t run at all in that position, it could signal something is off. Let’s dive a little deeper into the possible causes.
Common Causes
So, what exactly might be causing our Shark vacuum to misbehave? Here are a few common culprits:
- Clogged Hose or Filter: If we’ve let debris build up, the vacuum’s performance can seriously suffer.
- Faulty Brush Roll: Sometimes, the brush roll can get stuck or damaged, and when it won’t engage properly, the vacuum may decide not to run at all.
- Worn Out Motor or Wiring: Age isn’t just a number for vacuums. If our unit has seen better days, wiring issues might lead to inconsistent performance.
- Height Adjustment Settings: We can’t forget about the height adjustment. If it’s set too low for our carpet type, it might stall the vacuum when it should be running.
By identifying these potential issues, we can work towards keeping our vacuums running smoothly.
Troubleshooting Steps
Let’s roll up our sleeves and get to troubleshooting. Here’s a step-by-step guide to getting our Shark vacuum back in action:
- Inspect the Hose and Filter: First, let’s check for clogs. Detach the hose and look for blockages. A dirty filter? Clean or replace it.
- Examine the Brush Roll: Next, check the brush roll for hair or debris. If it’s stuck, give it a good clean. We want that brush rolling effectively.
- Check the Wiring: If we’re feeling adventurous, inspect the wires for damage. A little DIY can save us a trip to the repair shop.
- Test the Height Adjustment: Adjust it to the appropriate setting for our flooring. If our vacuum still only runs when tilted, we could be dealing with something more serious.
Preventative Maintenance Tips
Prevention is always better than a cure. Luckily, we can follow a few simple tips to keep our Shark vacuum in tip-top condition:
- Regularly Clean the Filter: Aim to clean or replace it every few months, depending on usage.
- Check for Clogs Often: Make hose inspections a regular routine, especially after vacuuming pet hair or larger debris.
- Keep the Brush Roll Clean: After each use, give the brush a quick check. Removing hair and fibers can save us from headaches later.
- Store It Properly: Ensure it’s stored upright and doesn’t have heavy items resting on it. Just like us, vacuums need their space to breathe.
When to Seek Professional Help
Sometimes, no matter how much we want to play DIY mechanic, it’s best to call in the experts. If after all our efforts the vacuum is still having issues, here’s when we might want to consider professional service:
- If there’s a noticeable burning smell.
- If the vacuum is making odd noises that just don’t sit right with us.
- If we’ve exhausted all troubleshooting tips without any luck.
- If the vacuum has been around for several years, and internal components may need replacing.
In these situations, it’s best not to risk further damage by continually trying to fix it ourselves.