
Cleaning your Dyson attachments is an essential part of maintaining the performance and longevity of your vacuum cleaner. In this article, we’ll share some valuable tips on how to effectively clean your Dyson attachments.
Understanding Your Dyson Vacuum Attachments
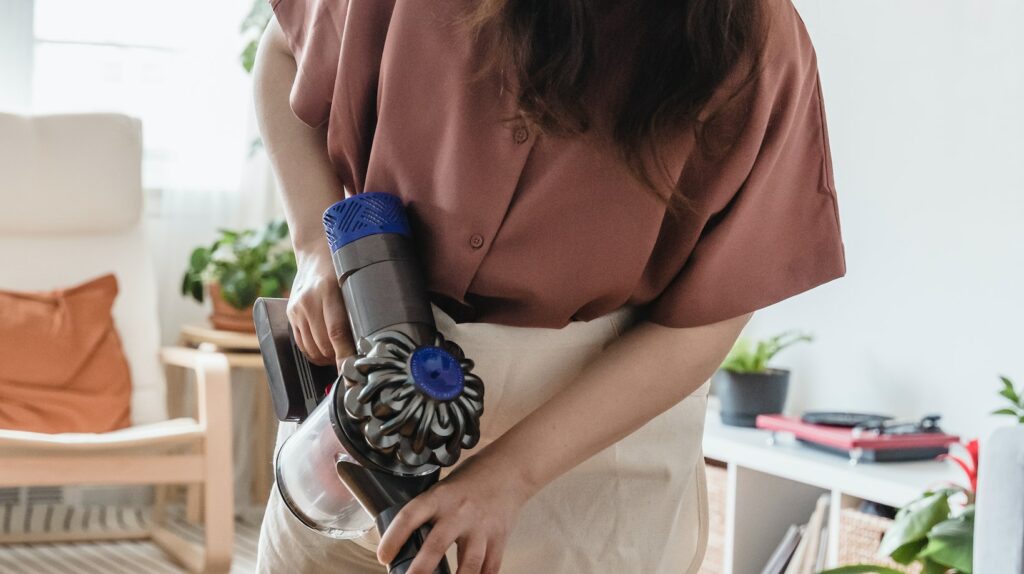
The Dyson vacuum’s versatility stems from its wide array of special tools. Each attachment has been designed to tackle particular types of surfaces or certain kinds of messes. Understanding what each one does can help you maximize your vacuum’s potential and keep your home as clean as possible.
- Crevice Tool – This thin, angled nozzle is perfect for those hard-to-reach areas such as corners and gaps between furniture. You know those crumbs that seem to magically appear in the crevices of your sofa? Well, this tool makes them disappear just as magically!
- Dusting Brush. With its soft bristles, it gently removes dust from delicate surfaces like lampshades or blinds without causing any damage. No more feather dusters needed when you’ve got this handy tool.
- The Upholstery Tool is another fantastic addition to your arsenal. It’s designed specifically for fabric surfaces – think sofas, curtains, even car seats! Its wide mouth sucks up large particles while the textured pad at the back grabs onto hair and lint.
- The Motorhead. While not an actual band (though that would be cool), this attachment is a rockstar in its own right when it comes to deep-cleaning carpets and rugs.
How to Clean Dyson Attachments
When it comes to keeping our Dyson attachments clean and functioning at their best, regular maintenance is key. One of the first steps in this process is removing loose debris that may have accumulated over time. By following a few simple steps, we can ensure our attachments stay in top shape for efficient cleaning.
- Inspect: Before diving into the cleaning process, take a moment to inspect the attachment for any visible debris such as hair, dust, or lint. This will help you determine the extent of cleaning required and identify any potential issues.
- Disassemble: Many Dyson attachments are designed with detachable parts for easy cleaning. Check if your attachment can be disassembled by twisting, sliding, or pressing specific buttons. Refer to your user manual if you’re unsure about how to properly disassemble your particular attachment.
- Shake and Tap: Once the attachment is disassembled, gently shake it over a trash bin to remove loose particles like dirt or crumbs. You can also tap it against a hard surface to loosen stubborn debris that may be stuck inside.
- Brush or Wipe: For attachments with bristles or fabric surfaces, use a soft brush or cloth to remove dirt and dust buildup effectively. Be thorough but gentle while brushing or wiping to avoid damaging delicate components.
- Vacuum Cleaning: After removing visible debris manually, use your vacuum cleaner’s hose attachment or an air compressor (if available) to suck out any remaining fine particles lodged within the attachment’s crevices.

Cleaning Dyson Brushes and Bristles
- Remove the Attachment: Start by detaching the brush or bristle attachment from your Dyson vacuum cleaner.
- Check for Tangled Hair or Debris: Use a comb or your fingers to gently remove these unwanted elements.
- Rinse with Water: Depending on the type of brush or bristle attachment you have, you may be able to rinse it under running water to remove any remaining dirt or particles.
- Use Mild Soap if Necessary: If there are stubborn stains or grime on the brushes or bristles that won’t come off with water alone, apply a small amount of mild soap onto them. Gently scrub using a soft-bristled brush or toothbrush until they are clean.
- Dry Thoroughly: After washing, ensure that all parts of the brush or bristle attachment are completely dry before reattaching them to your Dyson vacuum cleaner. Excess moisture can lead to mold growth and other issues, so take your time with this step.
Remember that each Dyson attachment may require different cleaning techniques depending on its design and material composition. Always refer to your user manual for specific instructions tailored to your model.