If you’re looking for a comprehensive guide on the various accessories of Shark vacuum parts, you’ve come to the right place. In this article, I’ll walk you through everything you need to know about sharing accessories for your Shark vacuum. From brush rolls and filters to hoses and attachments, we’ll explore how these components work together to enhance your cleaning experience.
One of the key benefits of owning a Shark vacuum is its versatility. With interchangeable accessories, you can customize your cleaning routine based on different surfaces and specific cleaning needs. Whether you’re dealing with carpets, hardwood floors, or upholstery, understanding the different parts and how they fit into the overall diagram will help optimize your vacuuming performance.
Understanding the Shark Vacuum Parts Diagram
When it comes to maintaining and troubleshooting your Shark vacuum, understanding the parts diagram is crucial. It serves as a visual guide that helps you identify different components and their functions. In this section, I’ll walk you through the key elements of a typical Shark vacuum parts diagram.
- Main Body: The main body houses the motor and other internal mechanisms that power your Shark vacuum. It is usually labeled as “Motor Assembly” on the diagram.
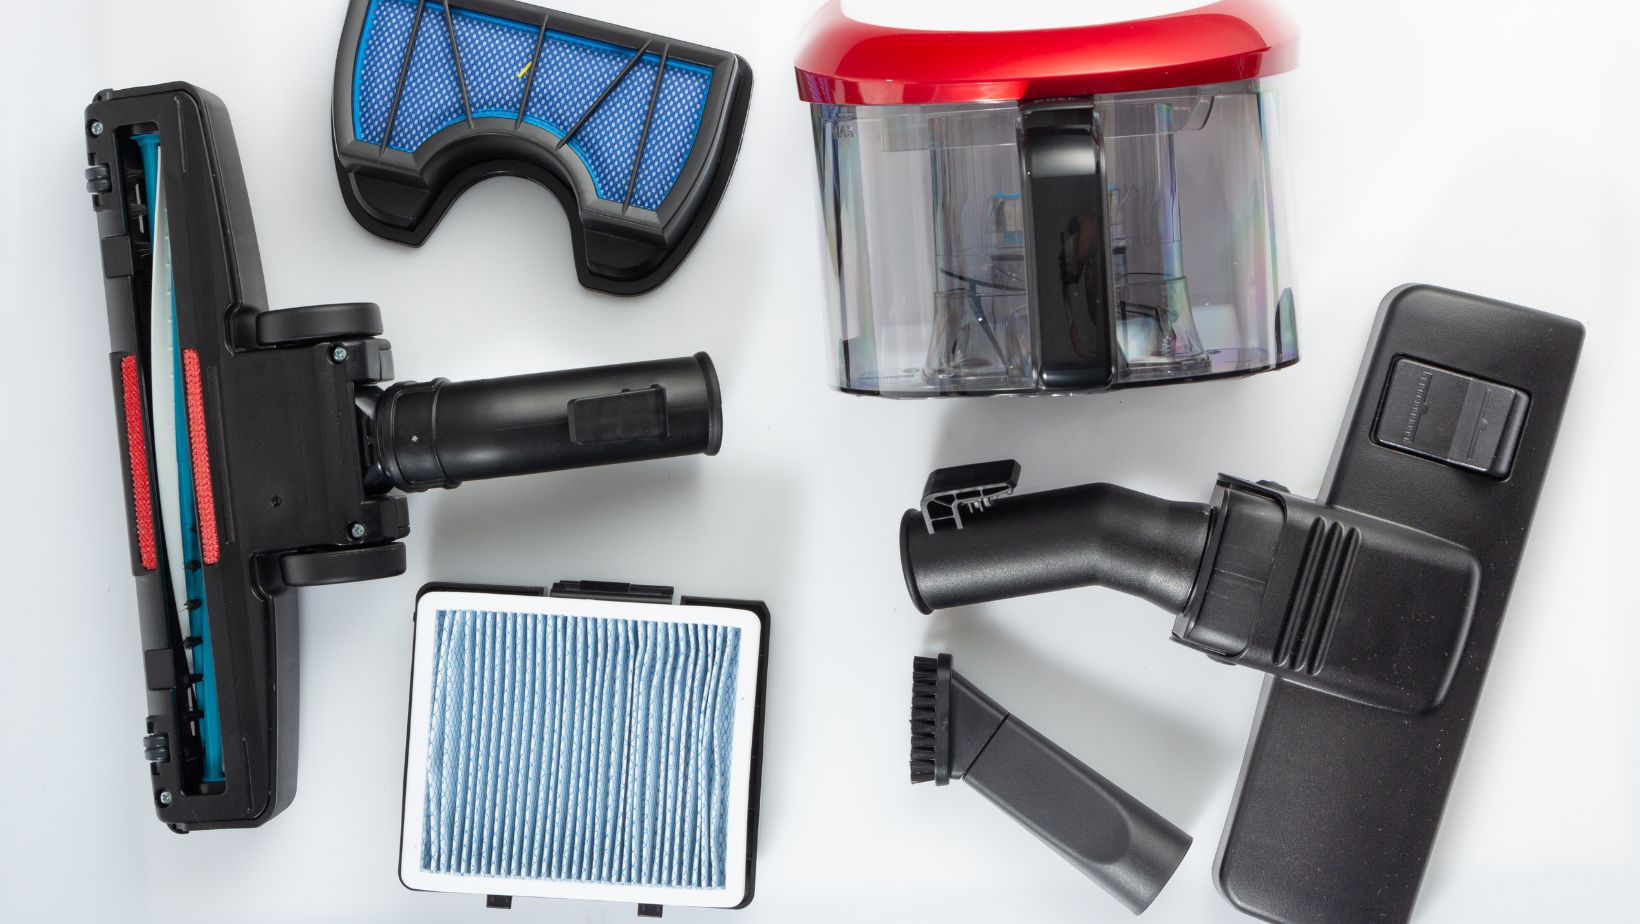
- Dust Cup: The dust cup is where dirt, debris, and pet hair are collected during cleaning. This removable container allows for easy disposal of accumulated waste. Look for “Dust Cup Assembly” or similar labeling on the parts diagram.
- Filters: Filters play a vital role in maintaining optimal suction performance and capturing fine particles. Most Shark vacuums have two types of filters: pre-motor filters (often foam or felt) and post-motor filters (usually HEPA). Refer to the diagram for specific filter locations and labeling.
- Brushroll: The brushroll, also known as the beater bar, has bristles that agitate carpet fibers, dislodging dirt for effective cleaning. It’s important to regularly check your brushroll for tangles or debris buildup to maintain efficient performance.
- Hose and Wand: These components allow for extended reach when cleaning above-floor surfaces such as upholstery or curtains. The hose connects to the main body while the wand attaches to various cleaning attachments like crevice tools or upholstery brushes.
- Power Switches and Controls: Depending on the model, your Shark vacuum may have different buttons or switches that control power settings, brushroll activation, or toggling between floor types (e.g., carpet vs hard floors). Pay attention to these controls in order to optimize your cleaning experience.
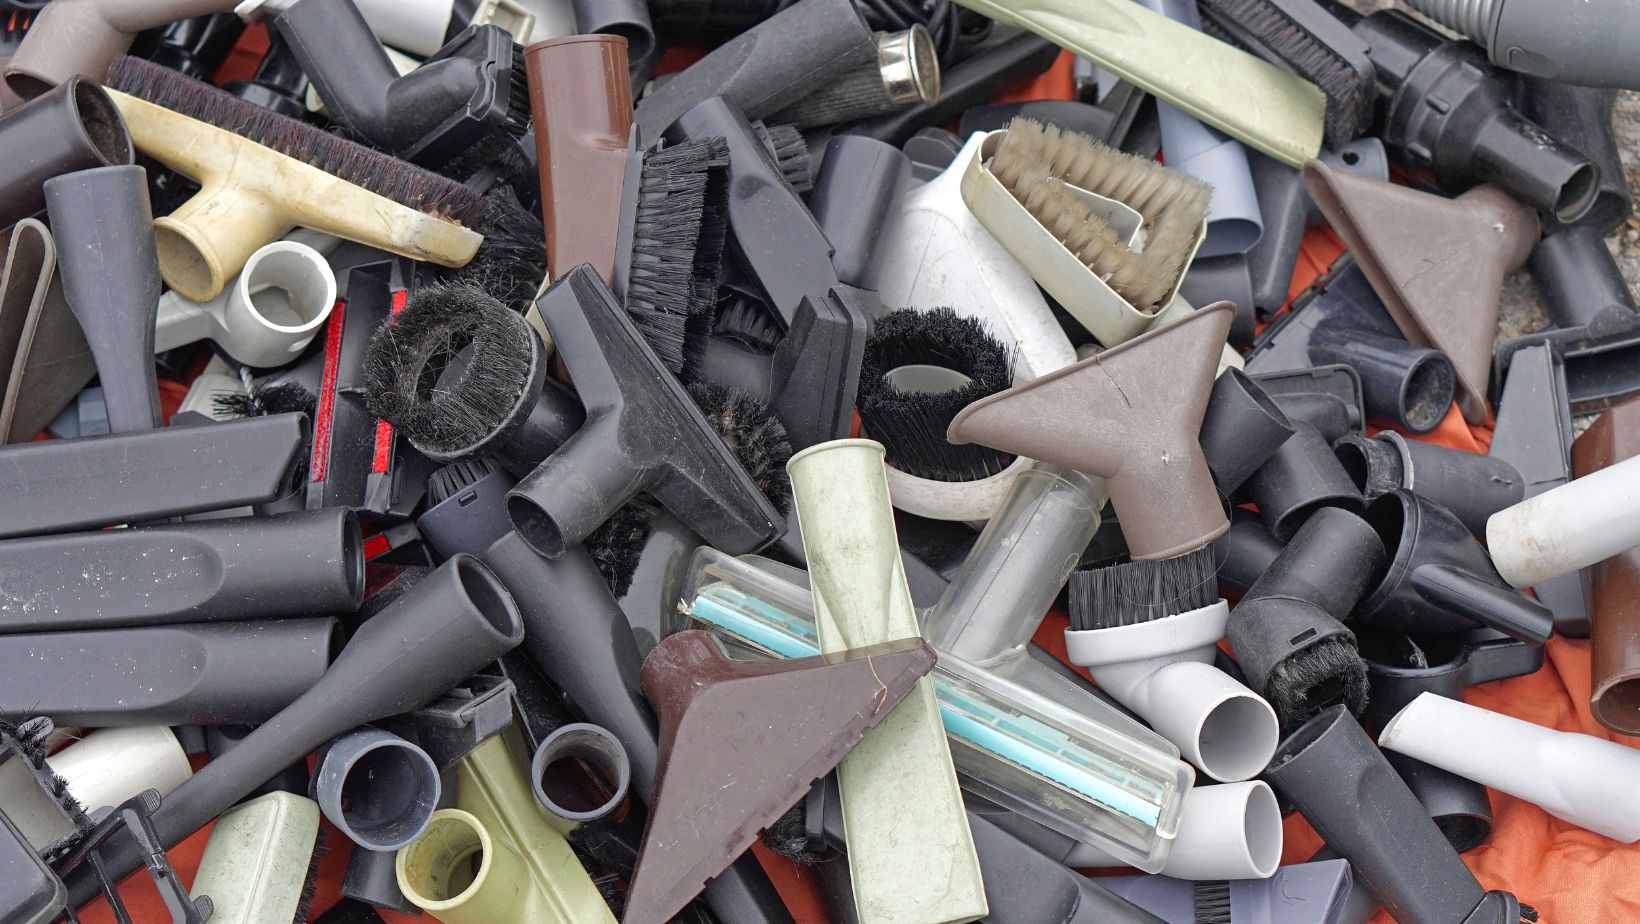
- Accessories: Your Shark vacuum may come with additional accessories, such as crevice tools, pet hair attachments, or multi-angle brushes. The parts diagram will indicate where these accessories can be attached for specific cleaning tasks.
Shark Vacuum Parts Diagram
When it comes to installing shark vacuum parts, following the correct procedure is crucial for optimal performance and longevity of your vacuum cleaner. Here are some steps to help you properly install the parts:
- Refer to the Manual: The first step is always to consult the user manual that came with your shark vacuum. It provides detailed instructions specific to your model and will guide you through the installation process.
- Identify the Part: Before installing any part, make sure you have identified it correctly. Each part has a specific function, and using the wrong one can affect the overall performance of your vacuum.
- Turn Off and Unplug: Safety should be your top priority during any maintenance or installation process. Before starting, ensure that your shark vacuum is turned off and unplugged from the power source.
- Remove Old Part (if applicable): If you’re replacing an existing part, carefully remove it by following the instructions in the user manual or gently detaching it from its position.
- Align and Insert: Take your new shark vacuum part and align it correctly with its designated spot on the vacuum cleaner. Ensure that it fits securely before gently inserting it into place.
- Secure or Lock: Depending on the type of part being installed, you may need to secure or lock it into position using clips, screws, or other mechanisms provided by Shark.
- Double-Check Connections: Once all parts are installed, double-check all connections to ensure they are properly seated and secured. Loose connections can lead to inefficiency or malfunctioning of your shark vacuum.