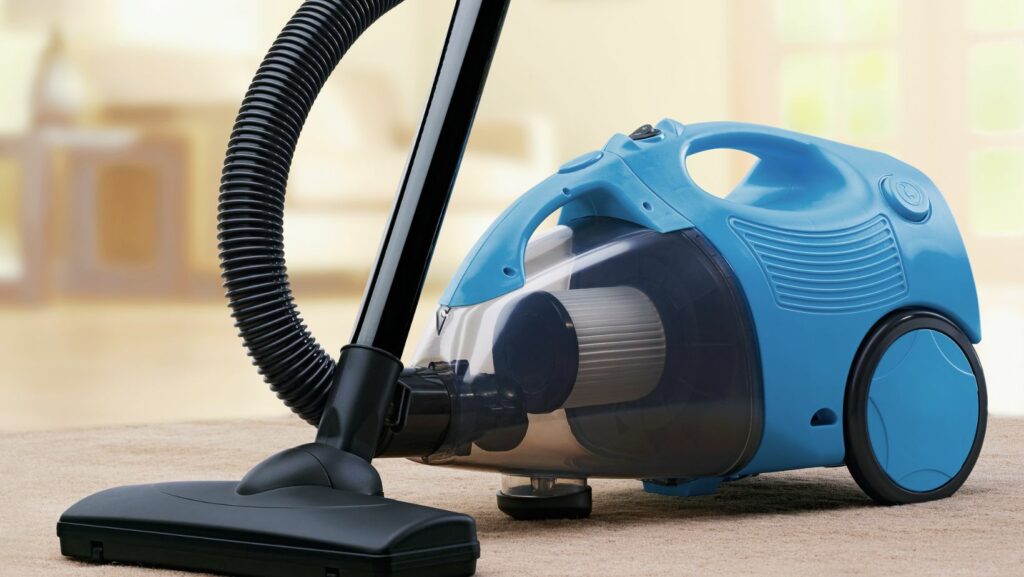
If you’re wondering how to disassemble a Shark vacuum, I’ve got you covered. Taking apart your Shark vacuum can be useful for cleaning and maintenance purposes. In this article, I’ll guide you through the process of disassembling your Shark vacuum step by step.
To start, make sure your Shark vacuum is unplugged and turned off. Begin by removing the dirt canister or dust cup from the main body of the vacuum. This can usually be done by pressing a release button or lever located on the back or side of the vacuum.
Next, locate any screws or clips that are holding different parts of the vacuum together. These may be found on the brush roll cover, hose attachment points, or other areas depending on your specific model. Use a screwdriver or simply unclip them to loosen these parts.
Table of Contents
ToggleDisassemble Shark Vacuum
The Benefits of Disassembling a Shark Vacuum
When it comes to maintaining and cleaning your Shark vacuum, disassembling it can offer several benefits. Here are some reasons why disassembling your Shark vacuum is necessary:
- Thorough Cleaning: Disassembling your Shark vacuum allows you to clean every nook and cranny, including hard-to-reach places that are often overlooked during regular maintenance. By taking apart different components such as the brush roll, filters, and dust cup, you can remove dirt, debris, and pet hair that may have accumulated over time.
- Improved Performance: Regular use of a vacuum can cause clogs or blockages in the suction pathway. By disassembling your Shark vacuum and clearing out any obstructions, you can restore its optimal performance. This ensures efficient suction power and helps maintain effective cleaning performance.
- Extended Lifespan: A well-maintained vacuum tends to last longer than one that’s neglected. Taking the time to disassemble your Shark vacuum allows you to inspect all parts for wear and tear or damage that may require replacement or repair. Identifying these issues early on can help prevent further damage and extend the lifespan of your appliance.

Common Issues And Troubleshooting For Shark Vacuums
As an expert in the field, I’ve encountered some common issues that users may face with their Shark vacuums. In this section, I’ll provide troubleshooting tips to help you resolve these problems and keep your vacuum running smoothly.
- Loss of Suction Power One of the most common issues with any vacuum cleaner is a loss of suction power. If you notice that your Shark vacuum isn’t picking up dirt as effectively as before, here are a few steps you can take:
- Check the filters: Clogged or dirty filters can significantly impact suction power. Remove the filters according to the manufacturer’s instructions and clean or replace them if necessary.
- Clear blockages: Debris or blockages in the hose, brush roll, or air pathways can restrict airflow. Inspect these areas and remove any obstructions carefully.
- Empty the dust cup: A full dust cup can impede suction. Make sure to empty it regularly during use.
- Brush Roll Issues The brush roll plays a crucial role in agitating and capturing dirt from carpets and floors. If you encounter problems with your Shark vacuum’s brush roll, try these troubleshooting steps:
- Check for tangled hair or debris: Over time, hair and debris can accumulate around the brush roll, causing it to become less effective. Carefully remove any entangled material using scissors or a sharp tool.
- Reset the brush roll: Some Shark vacuums have a reset button specifically designed for addressing brush roll issues. Locate this button (usually on the cleaner head) and press it to reset the motorized brush.
- Strange Odors Unpleasant odors emanating from your Shark vacuum can be offputting. To tackle this issue:
- Clean or replace filters: Dirty filters often contribute to foul smells in vacuums. Ensure that you clean or replace them regularly as per manufacturer recommendations.
- Refresh the vacuum: Sprinkling baking soda on your carpet and then vacuuming it up can help neutralize odors inside the machine.
Remember, if you’re unsure about disassembling or repairing your Shark vacuum, it’s always best to consult the manufacturer’s manual or contact their customer support. They can provide specific guidance tailored to your model.
By following these troubleshooting tips, you’ll be able to address some of the common issues that may arise with your Shark vacuum. Regular maintenance and care will ensure optimal performance and extend the lifespan of your appliance.

