Are you tired of spending hours vacuuming your home only to find that pesky dust and debris still lingering in the air? Look no further than Shark Professional Vacuum Filters. These innovative filters are designed to enhance your cleaning efficiency and ensure a pristine environment.
With their advanced technology, Shark Professional Vacuum Filters effectively capture even the tiniest particles, such as pet dander, pollen, and allergens. This means cleaner air for you and your family to breathe. Say goodbye to sneezing fits and hello to a healthier living space.
Not only do Shark Professional Vacuum Filters improve air quality, but they also prolong the life of your vacuum cleaner. By preventing clogs and maintaining optimal suction power, these filters help keep your machine operating at its best. With their easy-to-install design, you’ll have your vacuum up and running in no time.
Upgrade your cleaning routine with Shark Professional Vacuum Filters. Experience the difference in performance and enjoy a cleaner home today. Different Types of Shark Professional Vacuum Filters
Contents
Table of Contents
ToggleShark Professional Vacuum Filters
The Benefits of Regularly Cleaning and Replacing Shark Professional Vacuum Filters
When it comes to maintaining a clean and healthy home, having efficient cleaning tools is essential. One often overlooked component that significantly impacts the performance of your Shark professional vacuum is its filters. Regularly cleaning and replacing these filters not only ensures optimal suction power but also offers several other benefits.
Firstly, clean filters prevent clogs and blockages in your vacuum. As you use your vacuum, dirt, dust, pet hair, and debris get trapped in the filters. Over time, this buildup can restrict airflow and reduce suction power. By regularly cleaning or replacing the filters, you can maintain consistent suction throughout your cleaning sessions.
Secondly, clean filters improve indoor air quality. Vacuums equipped with high-quality filters effectively capture allergens such as pollen, dander, and dust mites from your floors and surfaces. However, if these filters are dirty or clogged, they won’t be able to trap these particles effectively. By keeping your filters clean and replacing them when necessary, you can ensure that the air circulating in your home remains fresh and free from airborne irritants.

Step-by-Step Guide on Cleaning and Maintaining Shark Professional Vacuum Filters
Step 1: Removing the Shark Professional Vacuum Filter
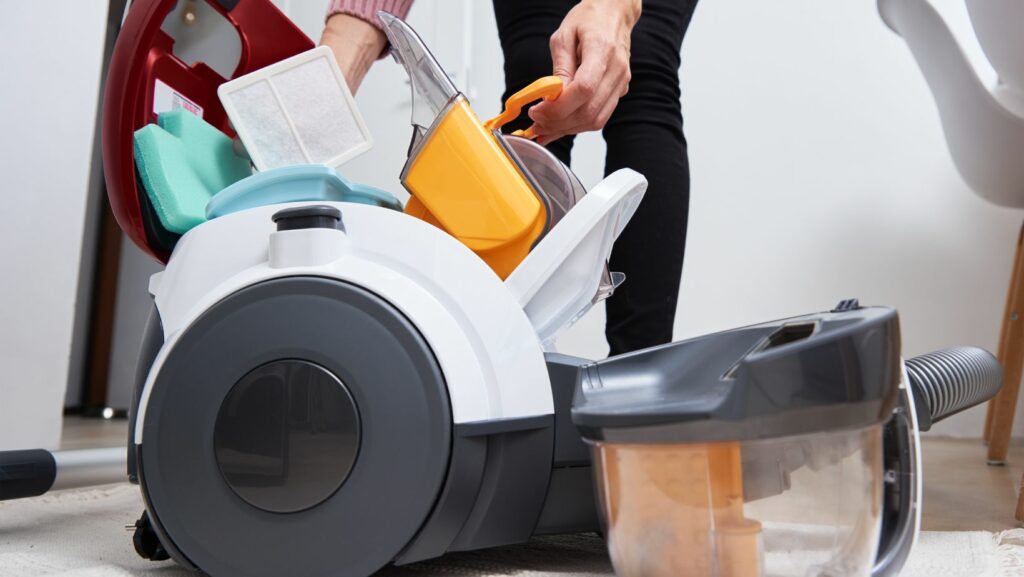
To begin cleaning and maintaining your Shark Professional Vacuum Filters, the first step is to remove the filter from the vacuum. Follow these simple steps:
- Turn off and unplug the vacuum cleaner for safety.
- Locate the filter compartment or access panel on your Shark Professional Vacuum.
- Open the compartment or remove the access panel to reveal the filters inside.
- Carefully take out the filters one by one, ensuring that they are not damaged in the process.
Step 2: Cleaning the HEPA Filters
Once you have removed the filters from your Shark Professional Vacuum, it’s time to clean them thoroughly. Here’s how you can do it:
- Tap or gently shake off any loose debris or dirt from the HEPA filters into a trash bin.
- Rinse each HEPA filter under running water to remove any remaining dust particles.
- Use mild dish soap and a soft brush to gently scrub away stubborn dirt or stains on the filters.
- Rinse thoroughly until all soap residue is gone, ensuring that water flows through each filter easily.
Step 3: Washing and Drying the Foam Filters
After cleaning the HEPA filters, it’s time to move on to washing and drying your Shark Professional Vacuum’s foam filters. Follow these steps:
- Gently squeeze excess dust and debris out of each foam filter.
- Fill a sink or basin with warm water and add a few drops of mild detergent.
- Submerge each foam filter in this soapy solution and gently agitate them for a few minutes.
- Rinse well under running water until all traces of soap are removed.

