Although you may not pay much attention to grout in the tiled space, when it is dirty, it may attract attention—and not in a good way. Those narrow lines between your bathroom, kitchen, or floor tiles are infamous for trapping dirt, grime, mold, and stains.
Not only does this buildup look unappealing, but it can also hold bacteria and mold over time.
The good news?
You don’t need harsh chemicals and expensive tools to restore them cleanly. Instead, with a smart approach and the right brush, cleaning grout can be simpler—and more rewarding.
In other words, to bring back the color of grout is to do targeted scrubbing with the right brush.
Keep reading to know more.
Contents
Why It’s Important to Clean Grout with a Brush
One of the more effective methods of cleaning the grout is using a brush. It is so because a grout brush differs from mops, sponges, or general-purpose scrubbers. It is designed to get into the narrow, recessed lines between tiles where dirt and grime like to rest.
In this context, grout is absorbent due to which it traps moisture, soap scum and particles that surface level-cleaners miss. That’s why using a high-quality grout cleaning brush is important. It will reach the narrow spaces and lift out debris that would normally be missed.
Its scrubbing strength is also beneficial, and it helps loosen and lift stains more easily with firm bristles than wiping or spraying with detergents.
Plus, with a brush, you can use just the right amount of pressure to clean safely yet thoroughly.
Step-by-Step Approach to Clean Grout with a Brush
Cleaning grout can be done without fancy tools or harsh chemicals; you need a good brush, cleaner, and some elbow grease.
Having said that, the following are a few steps to make the cleaning process easier.
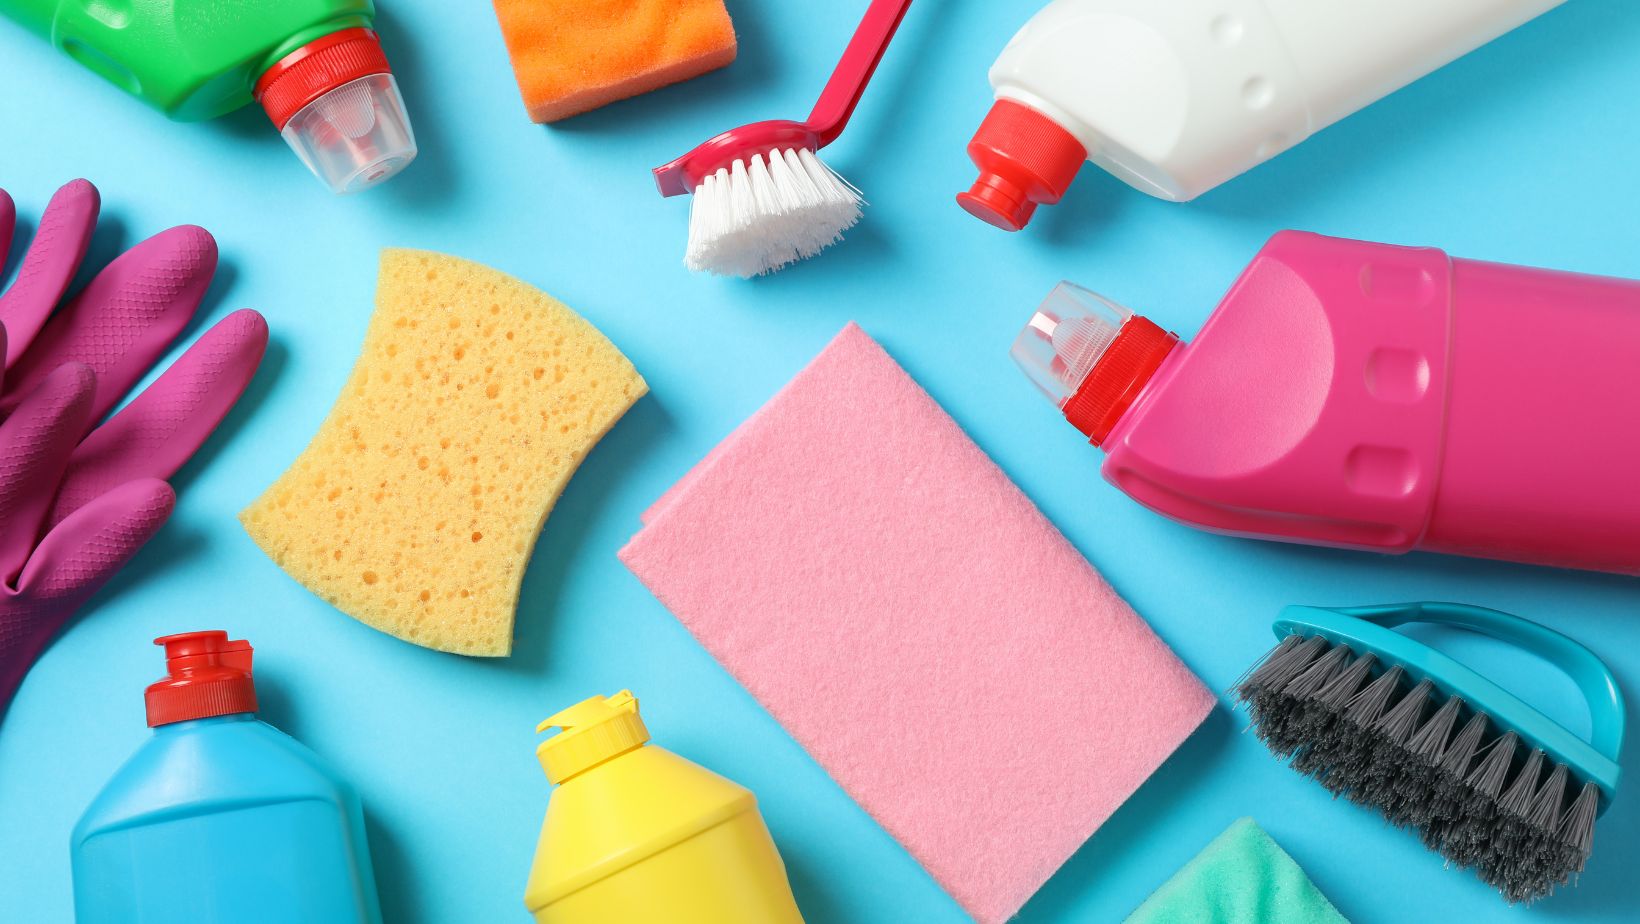
1. Gather Your Supplies
Gathering all the tools and materials you will need is critical before you start scrubbing the grout. It is to ensure that the cleaning process runs smoothly from beginning to end.
In this context, start by getting a premium grout brush, ideally with durable brush wheels and a strong handle for a good grip while you clean. It is especially essential if you have to clean a big area.
Also, you will require a cleaning solution, which can be store-bought or homemade as per your preference. These liquid cleaners can be applied evenly along grout lines with a spray bottle.
In addition, keep a bowl of warm water handy for rinsing your brush or wiping the area you are cleansing.
For better cleanup, you can even use old towels or rags, and they are really handy for drying the area to prevent the settling of new dirt.
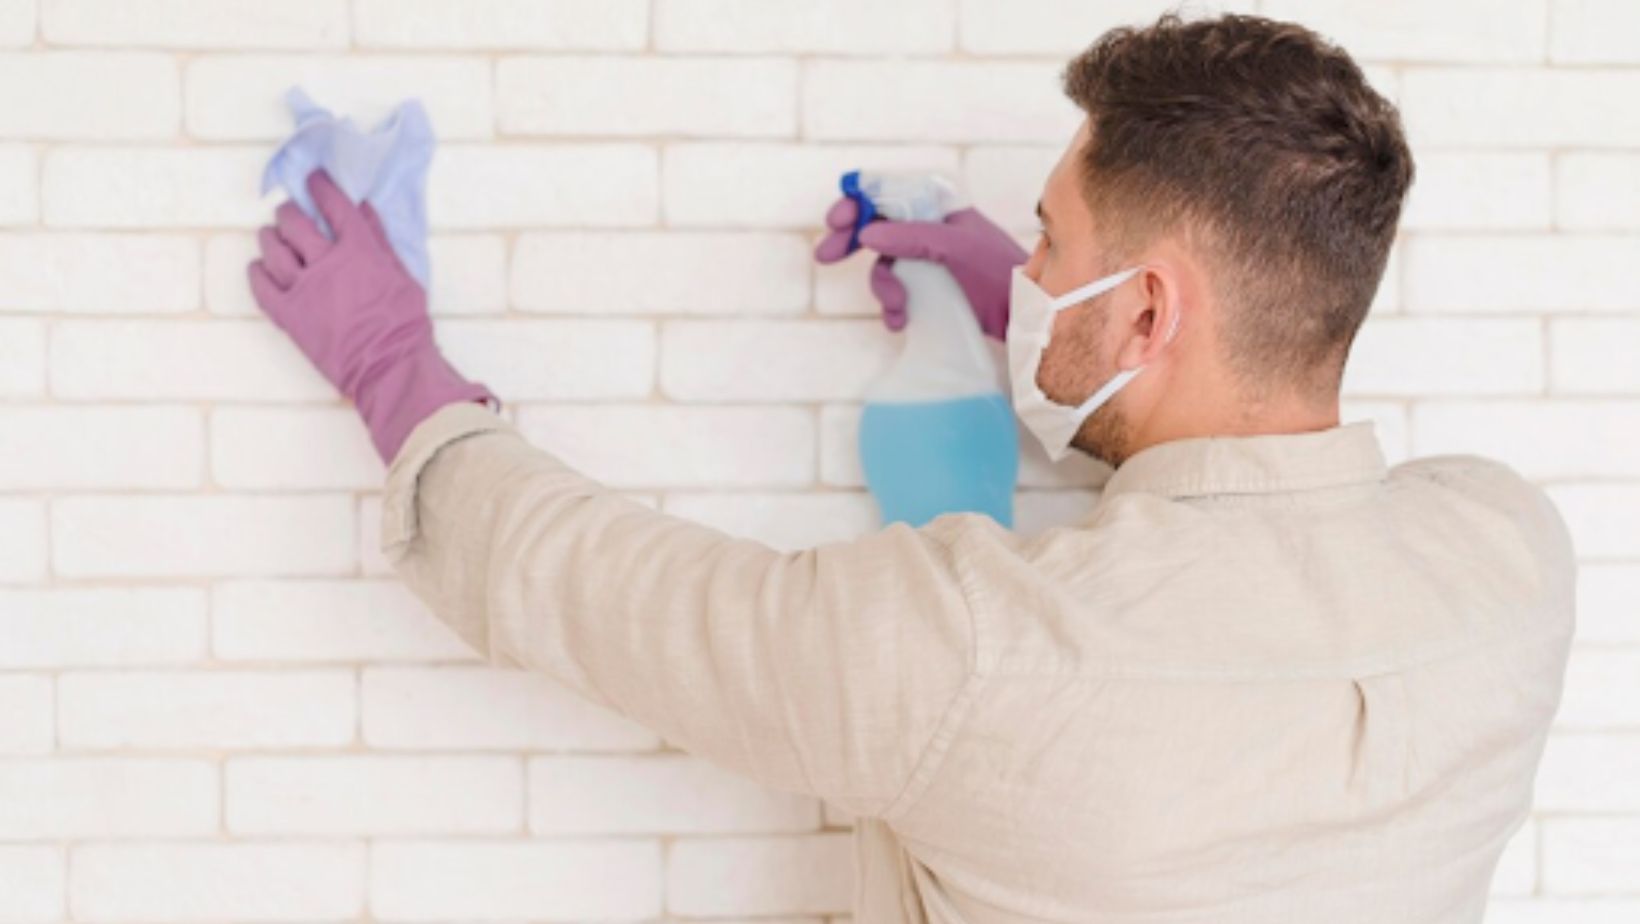
More importantly, if you have sensitive skin or are using harsh cleaners, wear rubber gloves to protect your hands from irritation and prolonged chemical exposure.
2. Choose Your Grout Cleaner
Choosing the correct grout cleaner can be the deciding factor in how successful your grout scrubbing will be.
It depends on whether your grout is dirty or stained and the type of ingredients you’re looking for to use in your home. On that note, you can go with a DIY natural solution or a commercial product. For example:
DIY Cleaning Solutions:
- Baking Soda + Water: Mix into a thick paste and apply directly to grout lines. This gentle abrasive can deal with lightly to moderately dirtied surfaces.
- Baking Soda + Vinegar: Spray white vinegar over the baking soda paste, which has been applied. This fizzing action helps to lift away grime. Also, allow it to sit for 5–10 minutes and then scrub.
- Hydrogen Peroxide + Baking Soda: This combo is a bleach-free solution, ideal for tough stains or light mold.
Commercial Cleaners:
If the stain goes deeper into the grout or if the stain is mold-related, then commercial grout cleaners, containing bleach or oxygenated compounds, may work better. Remember, always read the label and try in an area that can’t be seen first, so as to ensure it does not inflict damage or discoloration.
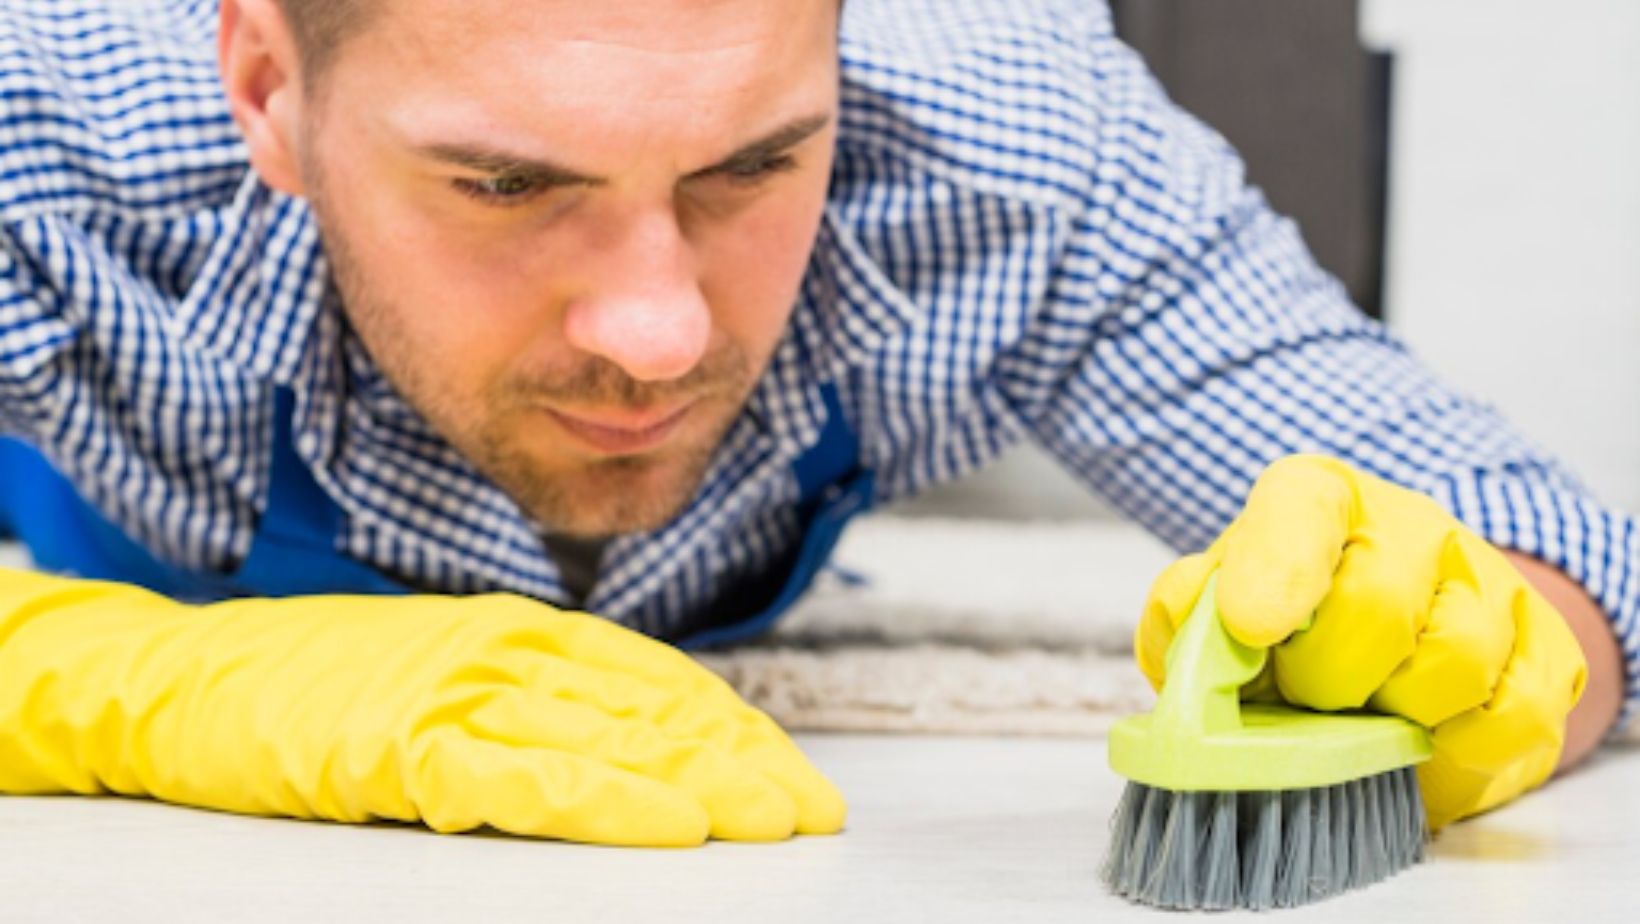
3. Scrub With the Brush
It’s now time to start scrubbing. Grab your grout brush and scrub in a back-and-forth motion along the grout lines. Then, use pressure that is firm enough and not too strong to clean with a grout brush carefully without any damage.
After scrubbing, if you still see dirty spots, add a bit more cleaner and scrub again.
Tip: Try to work on small sections at a time, about the size of a doormat. It ensures the cleaner doesn’t dry out between scrubbing and makes the cleaning feel less daunting.
4. Rinse and Wipe
Once you’ve finished scrubbing the grout, clean up the loosened dirt and leftover cleaner. First, use a damp cloth, sponge, or mop to wipe the area to remove the residue.
Next, wash off the rest of the cleaner by rinsing the surface with clean, warm water. This step ensures no streaks or buildup. Finally, use a dry rag or towel to absorb excess moisture.
In bathrooms, kitchens, or other damp rooms, this is particularly important to prevent mold or mildew from setting in once everything dries.
Choosing the Right Grout Brush
All brushes are not created equal. So, for the greatest results, you should select a brush meant specifically for cleaning grout. Plus, consider the following factors.
- User-Friendly Design: The brush should have a strong grip, be comfortable to hold, and easy to use even for extended cleaning sessions.
- Cost-Efficient: It should offer great performance without the expense of cleaning machines or repeated purchases.
- Multi-Use Capability: This tool should work well with various tile types like ceramic and porcelain.
- No-Mess Cleaning: Some brushes have built-in features, like grime guards or splash shields, that prevent dirt and debris from getting out of control.
- Trusted Tools: You should use grout brushed from a trusted brand for guaranteed quality.
As a result, you will be able to get a grout brush that will make the cleaning process more convenient and effective.
Conclusion
Grout cleaning doesn’t have to be frustrating or complicated.
The Ideal way to clean grout with a brush involves the above mentioned steps, like using the premium grout brush, choosing the appropriate cleaner, scrubbing with care, and properly rinsing.
This way, you can keep your tiles looking fresh, hygienic, and beautiful, without needing to retile or hire expensive help.