Table of Contents
ToggleClean Shark Vacuum Filter
Keeping your Shark vacuum filter clean is essential for maintaining its performance and ensuring optimal suction power. A clean filter not only improves the efficiency of your vacuum but also helps to trap dust, allergens, and debris effectively. In this article, I’ll provide you with some simple steps on how to clean your Shark vacuum filter and keep it in top condition.
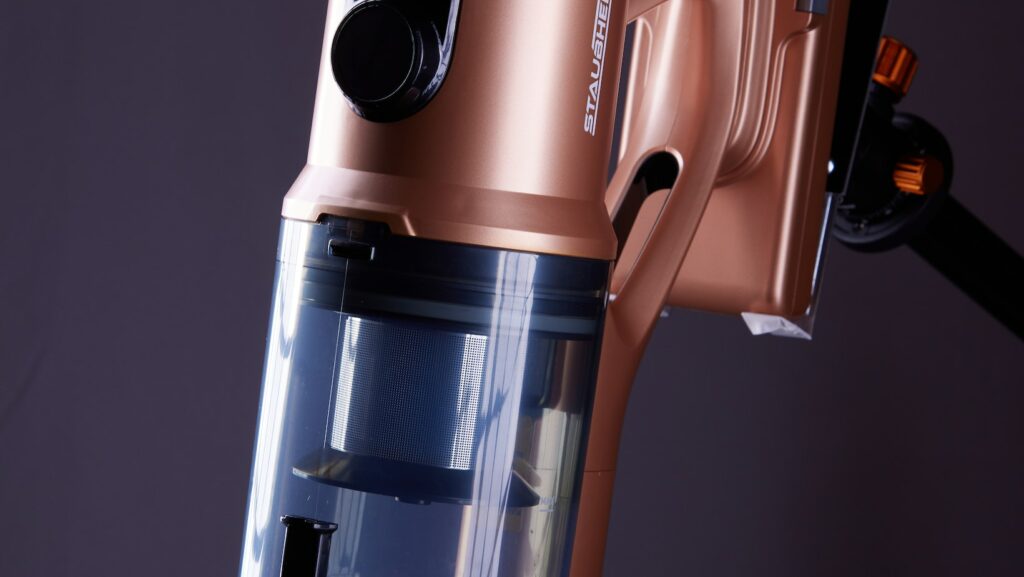
Firstly, it’s important to check the manufacturer’s instructions specific to your Shark vacuum model, as different models may have slightly different cleaning procedures. However, in general, most Shark vacuums have a detachable filter that can be easily removed for cleaning. Once you’ve located the filter, gently remove it from the vacuum.
Next, give the filter a thorough rinse under running water to remove any dirt or debris trapped inside. You can use mild soap or dish detergent if necessary to help loosen stubborn dirt. Be sure to rinse until the water runs clear and all traces of dirt are gone.
After rinsing, leave the filter aside and allow it to air dry completely before reinstalling it back into your Shark vacuum. It’s important not to rush this step as a damp or wet filter can lead to mold growth or unpleasant odors.
By regularly cleaning your Shark vacuum filter according to these steps, you can ensure that your vacuum continues performing at its best and keeps your home clean and fresh. Follow along as I share more tips on maintaining a well-functioning Shark vacuum throughout this article!

Why Cleaning Your Shark Vacuum Filter is Important
When it comes to keeping your floors clean, having a well-functioning vacuum cleaner is essential. And one crucial component that often gets overlooked is the filter. Many people underestimate the importance of cleaning their Shark vacuum filter regularly, but doing so can have a significant impact on both the performance of your vacuum and the air quality in your home.
Here’s why cleaning your Shark vacuum filter should be at the top of your cleaning routine:
- Maintains Suction Power: Over time, debris, dust, and pet hair can accumulate in your vacuum’s filter, clogging it up and restricting airflow. This buildup not only decreases suction power but also makes it harder for your vacuum to pick up dirt effectively. By regularly cleaning or replacing the filter, you ensure optimal suction power and maintain peak performance.
- Extends Lifespan: A dirty or clogged filter puts extra strain on your Shark vacuum’s motor as it has to work harder to compensate for reduced airflow. This added stress can lead to premature wear and tear on the motor, shortening its lifespan. By taking care of the filter, you’re essentially extending the life of your vacuum cleaner.
- Improves Air Quality: When you clean with a dirty filter, particles that were trapped inside can escape back into the air while you’re using the vacuum. This dust and allergen-filled air can worsen allergies or respiratory issues among household members—especially those sensitive to airborne irritants like pollen or pet dander. Regularly maintaining a clean filter helps keep these particles contained within the machine and ensures fresher indoor air quality.
- Saves Money: Replacing an entire vacuum cleaner due to poor maintenance is far more expensive than investing in regular upkeep of its components like filters. By dedicating just a few minutes every month to clean out your Shark vacuum filter properly, you’ll save money by avoiding unnecessary repairs or replacements.
In conclusion, cleaning your Shark vacuum filter is crucial for maintaining suction power, extending the lifespan of your machine, improving air quality, and saving money. Make it a part of your regular cleaning routine to ensure efficient performance and a healthier living environment.

