Table of Contents
ToggleCleaning Shark Vacuum Filters
Keeping your shark vacuum in top condition is essential for maintaining its performance and longevity. One crucial aspect of maintenance is regularly cleaning the filters. Cleaning shark vacuum filters not only ensures optimal suction power but also helps to maintain indoor air quality by trapping dust and allergens. In this article, I’ll guide you through the process of cleaning your shark vacuum filters effectively.
When it comes to cleaning shark vacuum filters, it’s important to note that there are different types of filters used in various models. The most common types include foam filters, felt filters, and HEPA filters. Before starting the cleaning process, refer to your user manual or manufacturer’s instructions to identify the type of filter used in your specific model.
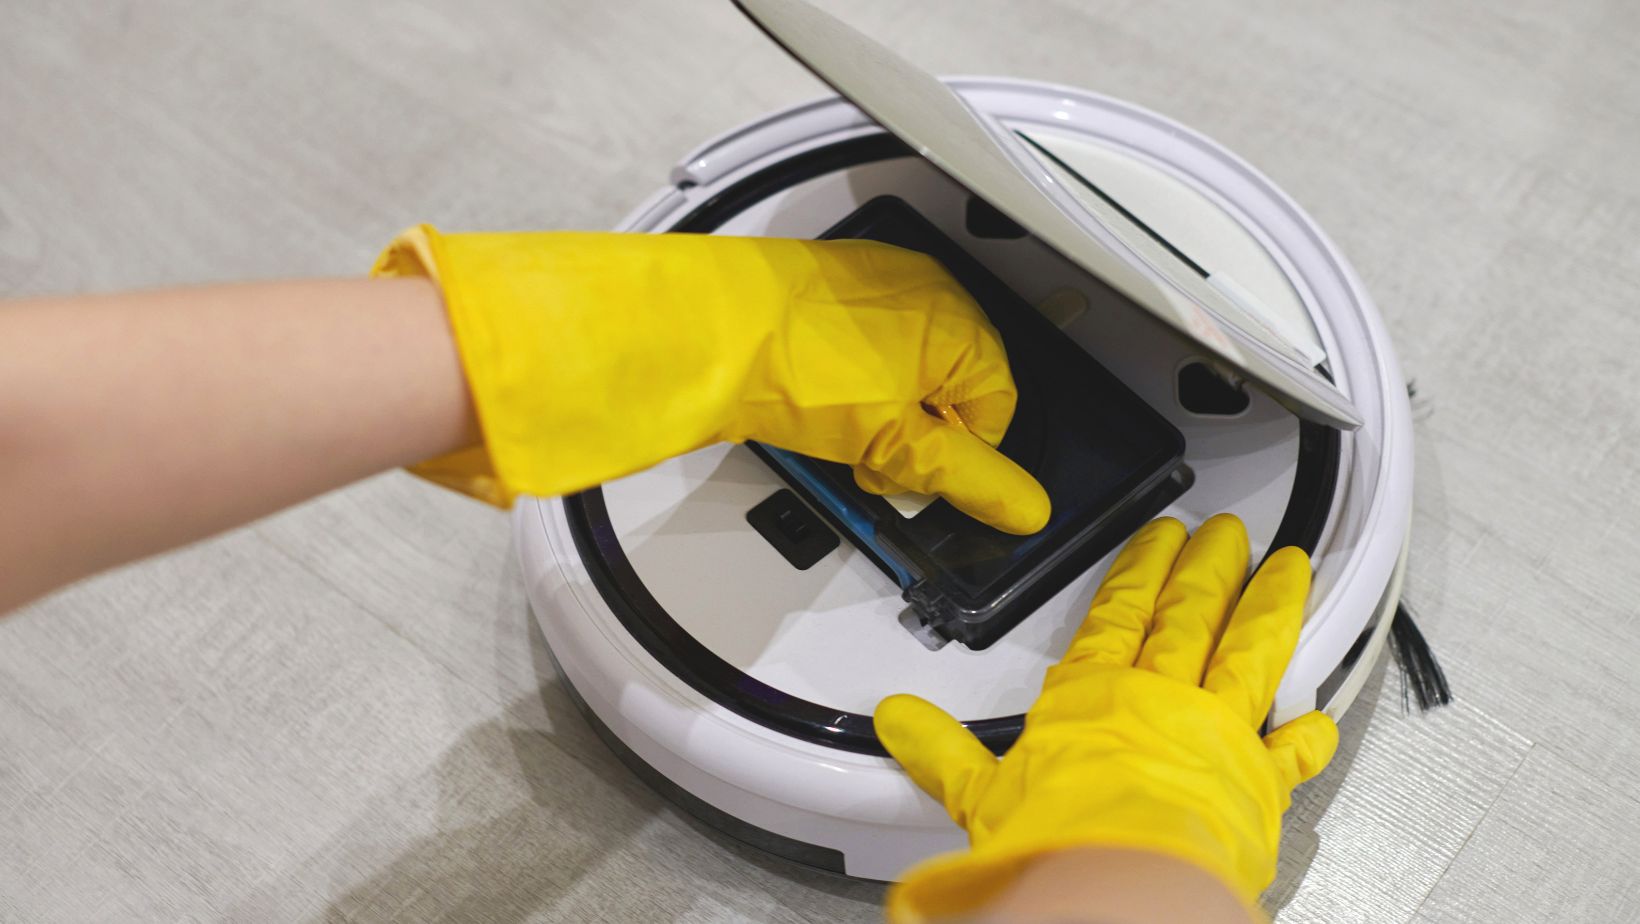
To begin cleaning the shark vacuum filter, start by removing it from the vacuum cleaner according to the instructions provided. Shake off any loose dirt or debris into a trash bin or use a soft brush to gently brush away accumulated dust. Depending on the type of filter, you may need to rinse it under running water or wash it with mild soap and water. Allow sufficient time for the filter to dry completely before reattaching it back into your shark vacuum.
Regularly cleaning your shark vacuum filters not only optimises its performance but also contributes to better indoor air quality by capturing particles like dust mites, pet dander, and pollen. By following these simple steps and incorporating regular filter maintenance into your cleaning routine, you can ensure that your shark vacuum continues delivering powerful suction while keeping your home clean and allergen-free.
Remember that proper maintenance goes a long way in extending the lifespan of your appliance and ensuring efficient operation every time you use it!

How to Clean Shark Vacuum Filters
Keeping your Shark vacuum filters clean is essential for maintaining optimal suction power and ensuring efficient performance. Regularly cleaning the filters not only helps prolong the life of your vacuum but also contributes to cleaner indoor air quality. Here are some simple steps to follow when cleaning your Shark vacuum filters:
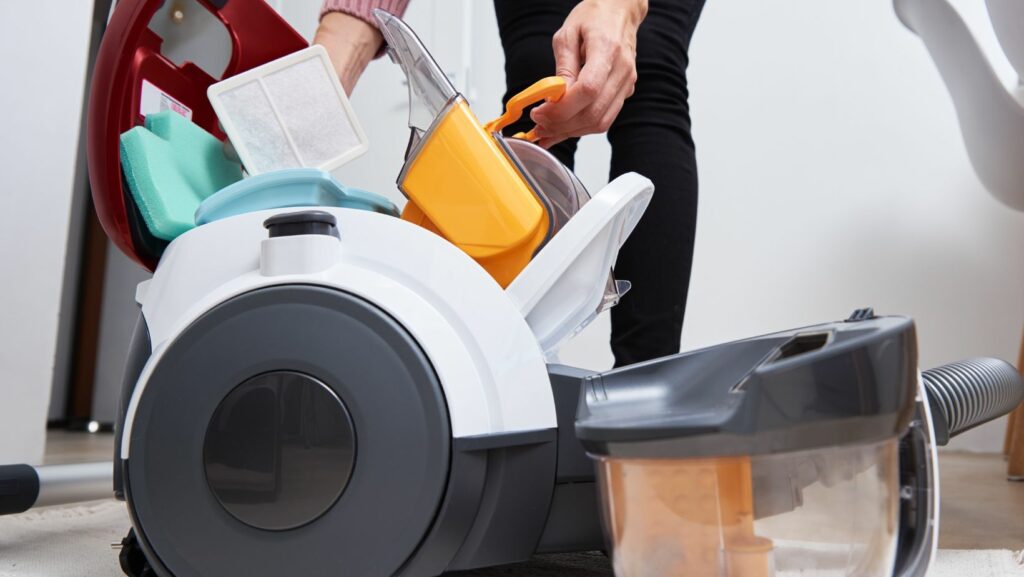
- Remove the Filters: Start by unplugging your Shark vacuum and locating the filter compartment. Depending on the model, you may have both a pre-motor foam filter and a post-motor HEPA filter or just one of them. Carefully remove the filters from their compartments.
- Tap off Loose Debris: Take the filters outside or over a garbage bin and gently tap them against a hard surface to dislodge any loose dirt, dust, or debris trapped in the fibres.
- Rinse with Water: Rinse both sides of the foam filter under running water until it runs clear. Be sure to squeeze out excess water gently without wringing or twisting it, as this can damage the filter’s structure.
- Clean HEPA Filter (if applicable): If your Shark vacuum has a HEPA filter, it cannot be rinsed with water like foam filters. Instead, use a soft brush attachment or a handheld vacuum cleaner to remove any accumulated dust from its surface.
- Allow Filters to Air Dry: Place both filters in an open area where they can air dry completely before reinserting them into the vacuum cleaner. It’s important to ensure that they are thoroughly dry to prevent mould or mildew growth.
- Reassemble and Test: Once dry, carefully reinsert the cleaned filters back into their respective compartments in the vacuum cleaner until they fit snugly in place. Plug in your Shark vacuum and run a test to check if everything is functioning properly.
By following these steps on how to clean Shark vacuum filters regularly – ideally every month or two depending on usage – you can maintain the suction power of your vacuum and enjoy clean, fresh air in your home.

