Table of Contents
ToggleUnderstanding Your Shark Vacuum Canister
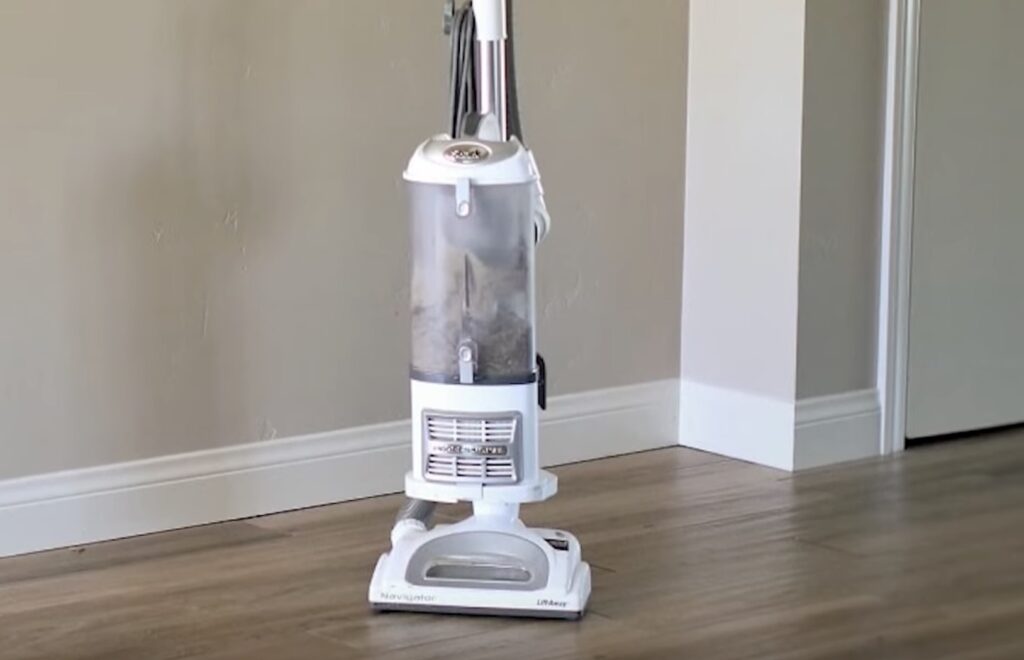
Peering into the heart of your Shark vacuum, you’ll find a key component that makes all the difference – yes, we’re talking about the canister. It’s this part that plays a crucial role in keeping our homes spick and span.
But what exactly is it? The canister is where all the dust and debris go after they’ve been sucked up by your vacuum. Sure, it might not be glamorous, but we’d argue it’s one of the most important parts of any vacuum cleaner. Without a properly functioning canister, cleaning becomes much more difficult.
Shark vacuums are known for their bagless designs. Instead of collecting dirt in disposable bags, these vacuums store it right inside their clear plastic canisters. This feature not only saves us from buying replacement bags but also lets us see when it’s time to empty out the accumulated dirt and debris.
When we talk about how to clean a Shark vacuum canister, there are several steps involved:
- First off, ensure that your appliance is unplugged before beginning.
- Next up is emptying its content into a trash bin.
- Afterwards comes washing with warm soapy water and drying thoroughly.
Why Regular Cleaning is Essential
Let’s face it, no one adores the thought of cleaning. However, when it comes to our Shark Vacuum Canister, we can’t afford to skip this task. Regular cleaning isn’t just a recommendation—it’s a necessity! It’s not merely about keeping your device looking spick and span; there are a host of reasons that make regular maintenance vital.
First off, consistent cleaning boosts the longevity of your vacuum cleaner. A well-maintained Shark Vacuum Canister can serve you for years on end! With each use, dust and grime accumulate in the canister which gradually impedes its function. Without frequent clean-ups, you’re essentially shortening its lifespan.
Not only does routine cleaning help extend your vacuum’s life, but it also enhances its performance. Imagine trying to suck up dirt with an already dirt-filled vacuum – sounds counterproductive right? That’s exactly what happens when we don’t regularly clean our Shark Vacuum Canisters. Performance drops and efficiency takes a hit.
We’ve all experienced those annoying moments where our vacuums suddenly start emitting strange smells or making weird noises – these are often signs that a good clean-up is overdue! Regularly emptying and washing out the canister helps prevent such unwelcome surprises.
Lastly, let’s talk about allergens – tiny particles that wreak havoc on allergies and respiratory systems! Our Shark Vacuum Canisters trap these pesky perpetrators every time we vacuum. If not cleaned regularly, they get recycled back into our environment each time we use our machines again – definitely not ideal!

How to Clean Shark Vacuum Canister
Sometimes, our vacuum cleaners need a bit more than just a wipe down. When it’s time for a deep clean of your Shark Vacuum canister, we’re here to guide you through the process. Let’s dive in and get that canister sparkling again.
First things first, gather everything you’ll need: warm water, mild dish soap, a soft brush or cloth, and some patience. It’s important to remember to unclog your vacuum before starting any cleaning task. We don’t want any unwanted surprises.
Let’s start by emptying the canister. Press the release button usually found at the top or side of your Shark Vacuum Canister and dispose of all debris properly. Next up is disassembling any parts that can be removed such as filters and separators.
Now comes the scrubbing part! Fill up your sink with warm water mixed with mild dish soap. Submerge each part one at a time into this soapy solution and gently scrub using your cloth or soft brush until all dirt is gone.
Once everything is squeaky clean, rinse thoroughly under running water ensuring no soap residue remains on any component of the Shark Vacuum Canister. Then let them dry completely before reassembling; putting back wet components could lead to mold growth or impair function.

