
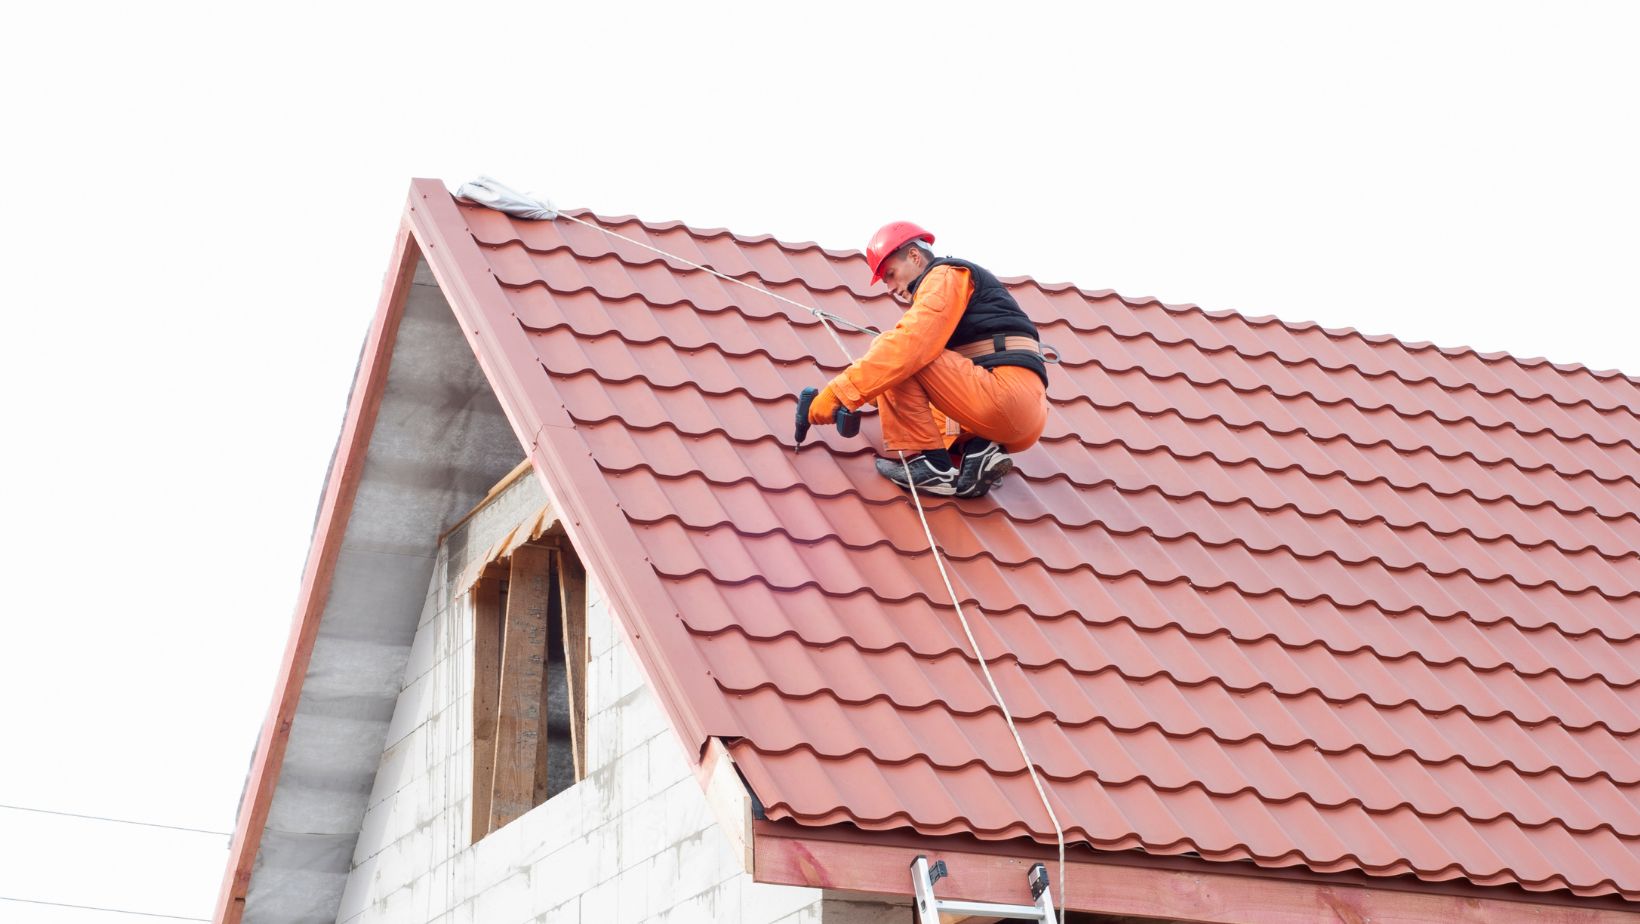
When replacing a roof, attention often goes straight to shingles, underlayment, and the general layout of the surface. However, two essential elements that protect the roof from long-term damage—flashing and drip edge—are just as crucial. We will explore how flashing and drip edge are adequately installed during a roof replacement and why they are essential to keeping a structure watertight. These components are less visible but serve as barriers against water intrusion at some of the roof’s most vulnerable areas. Flashing seals joints and transitions where different roofing surfaces meet, while the drip edge directs water off the eaves and away from fascia boards. Installed incorrectly or skipped altogether can lead to rot, mold, and costly damage. Proper installation isn’t about adding a finishing touch—it’s about ensuring the structure underneath stays dry and stable, even under harsh weather conditions.
Ways flashing and drip edge are installed
-
Understanding the Role of Flashing in Roof Systems
Flashing is typically made from thin metal sheets, such as aluminum or galvanized steel, and is used to direct water away from seams and joints on the roof. It applies to areas like chimneys, skylights, dormers, valleys, and vent pipes—anywhere water can seep. Existing flashing is usually inspected for corrosion, warping, or improper placement during a roof replacement. If damage is found or if the material is outdated, it should be removed and replaced with new flashing as part of the job.
The flashing is installed under the shingles but over the underlayment to create a channel for water to run safely off the roof. Step flashing or continuous flashing in roof valleys directs water toward the gutters. Around chimneys and vent pipes, flashing is layered and sealed with roofing cement to prevent leaks. Each piece of flashing must be custom-fit to the surface it’s protecting, allowing it to expand and contract without pulling away from the surface.
Properly installed flashing is an invisible shield that has quietly prevented rot and leaks for years—and for added exterior visibility and accent lighting, many homeowners also install led light strips along rooflines, eaves, or gutter edges to enhance curb appeal at night.
-
Installing Drip Edge to Guard the Roof’s Perimeter
Drip edge is another critical part of the roofing system, even though it’s often overlooked. This L-shaped metal flashing is installed along the roof’s edges—typically under the first row of shingles and underlayment. Its purpose is to guide water off the roof’s edge and into the gutters, preventing it from running down fascia boards or behind siding. During a roof replacement, drip edge installation typically begins at the eaves. The installer positions the metal strip to extend slightly beyond the edge of the roof decking, creating a path for water to follow. It is secured with roofing nails, and the shingles are laid over it, holding it in place while creating a layered seal.

When installed correctly, the drip edge minimizes the chances of water seeping into the substructure, a common cause of wood rot. It also helps prevent pests and insects from entering at the edges, where gaps are more likely without it. At the rakes (the sloped edges of the roof), a different style of drip edge may be used and layered with the eave installation to maintain continuity. This small addition significantly impacts the protection of the roof’s perimeter from weather-related deterioration.
-
Integrating Flashing and Drip Edge with Other Roof Components
The success of flashing and drip edge installation is closely tied to the roofing components’ layered order—timing and sequencing matter. If underlayment is applied before flashing in valleys or if a drip edge is added after shingles are installed, the system becomes vulnerable to leaks. During a professional roof replacement, the crew follows a step-by-step process: first, the decking is inspected, then underlayment and water shield barriers are laid out. Flashing is installed before shingle placement begins in key areas like valleys, pipe boots, and wall joints. The drip edge is positioned next to the eaves to ensure it lies underneath the first row of shingles. On sloped rakes, it is usually installed after underlayment but before shingles. This layering creates a directional path for water to follow—from shingle to drip edge to gutter. Even the placement of nails is essential. Incorrect fastening can create weak points or pull metal flashing out of place over time. When all these components are installed with precision and purpose, the roof performs as a tightly sealed structure, directing water away from sensitive areas and into proper drainage. Homeowners working with professional installers such as Progressive Roofing & Home Improvements LLC often see firsthand how crucial these systems are to be handled with care and precision. Their role may be less glamorous than shingles, but without flashing and drip edge, no roof can stand up to the elements for long.
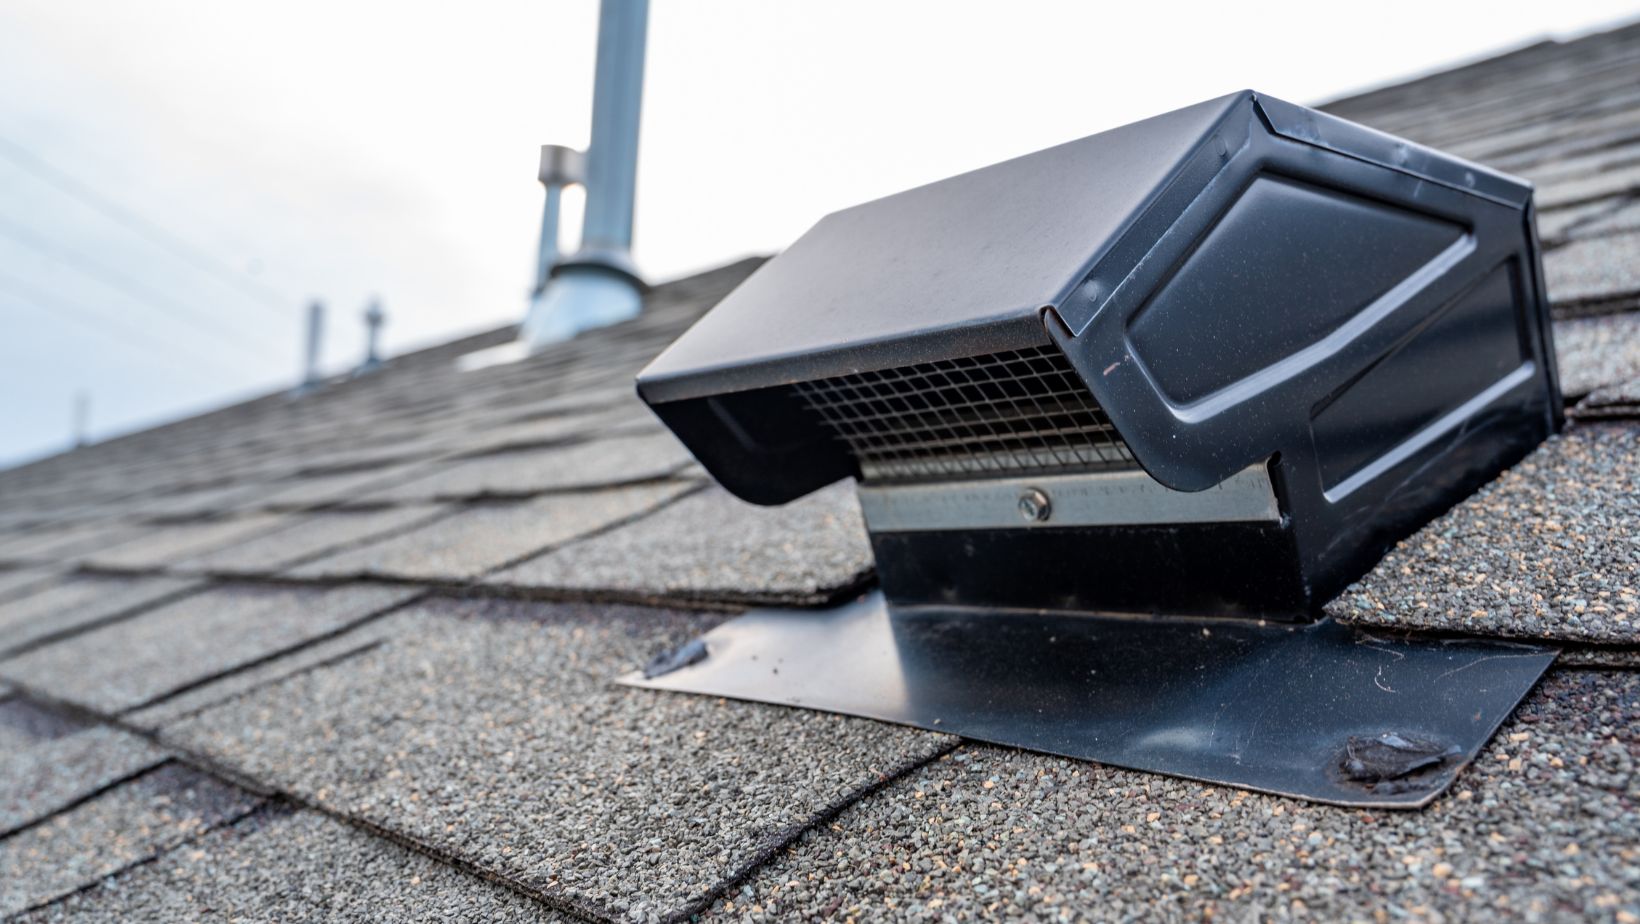
Roofing systems are only as strong as their weakest point; more often than not, those points lie along the edges and seams. Flashing and drip edges may not catch your eye from the street, but their importance becomes clear when storms roll in, or long-term durability is tested. These elements work together to channel water, protect framing materials, and preserve the roof’s integrity over time. Replacing a roof offers the perfect opportunity to upgrade these components and ensure they’re installed correctly. It’s a proactive step that prevents future headaches and shields your investment against weather-related wear and tear. A roofing system that incorporates properly fitted flashing and drip edge doesn’t just look better—it functions better, lasts longer, and requires fewer repairs. So when replacing your roof, don’t overlook these quiet protectors—they may not be visible, but they carry a heavy load.