Table of Contents
ToggleHow to Clean a Shark Vacuum Filter
Keeping your shark vacuum filter clean is essential for maintaining its performance and prolonging its lifespan. A clogged or dirty filter can hinder suction power, reduce efficiency, and even lead to damage over time. In this guide, I’ll walk you through the step-by-step process of how to effectively clean your shark vacuum filter.
To start, make sure your shark vacuum is unplugged from the power source before removing the filter. Locate the filter compartment on your specific model; it’s usually located near the dust cup or at the back of the vacuum. Once you’ve found it, open the compartment and carefully remove the filter.
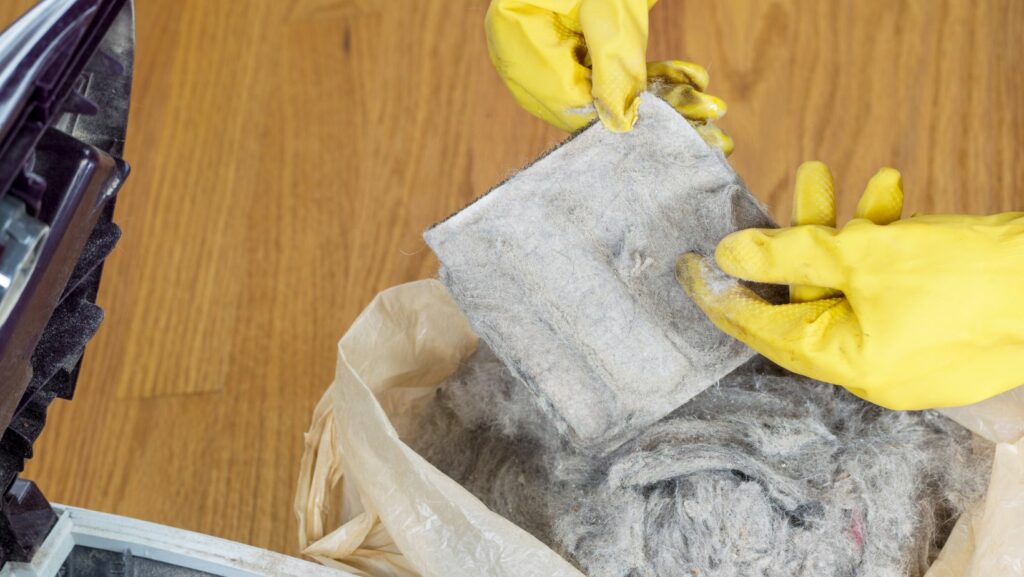
Next, gently tap the filter against a trash bin to dislodge any loose debris or dust particles. This will help clear out most of the surface dirt. However, for a more thorough cleaning, rinse the filter under running water. Use cool or lukewarm water and avoid using hot water as it may damage certain types of filters.
While rinsing, use your fingers to gently massage and loosen any stubborn dirt or debris that may be stuck in between the pleats of the filter. Continue rinsing until the water runs clear and all visible dirt has been removed.
Once you’re satisfied with rinsing off all debris from your shark vacuum filter, let it air dry completely before reinserting it into its compartment. It’s important to ensure that no moisture remains on or inside the filter as this can potentially cause mold growth or reduce filtration effectiveness.
By following these simple steps regularly (approximately every 1-3 months depending on usage), you’ll be able to maintain optimal performance from your shark vacuum cleaner and enjoy hassle-free cleaning sessions. Remember, a clean shark vacuum filter equals a powerful suction that efficiently tackles dirt and debris around your home! Why is it important to clean your shark vacuum filter regularly?
Here are a few reasons why regular cleaning of your shark vacuum filter is so important:
- Optimal Suction Power: Over time, dust, pet hair, and other particles accumulate in the filter, causing it to become clogged. This obstructs the airflow and reduces the suction power of your shark vacuum. By regularly cleaning the filter, you ensure that air can freely flow through it, maximizing its suction capability.
- Efficient Cleaning: When the filter is clean, your shark vacuum can efficiently trap and remove even the smallest particles from your floors. A dirty or clogged filter may allow these particles to escape back into the air or be redistributed onto cleaned surfaces.
- Prevents Damage: A neglected or dirty filter can put additional strain on the motor of your shark vacuum, potentially leading to overheating or premature wear and tear. Regularly cleaning the filter helps prevent damage to vital components of your machine, saving you from costly repairs or replacements.
- Extends Lifespan: Taking care of your shark vacuum by keeping its filter clean not only ensures optimal performance but also extends its overall lifespan.

Step-by-step Guide on How to Clean a Shark Vacuum Filter
Cleaning your shark vacuum filter is an essential maintenance task that ensures optimal performance and prolongs the lifespan of your vacuum. Here’s a simple step-by-step guide to help you through the process:
- Prepare for cleaning:
- Turn off and unplug your shark vacuum.
- Locate the filter compartment, usually located near the dust cup or at the back of the vacuum.
- Check the user manual for specific instructions regarding your model.
- Remove the filter:
- Open the filter compartment by pressing any release buttons or unlocking mechanisms.
- Take out the foam and felt filters from their slots.
- Inspect them for dirt, debris, or clogs. If heavily soiled, it’s time for a thorough cleaning.
- Rinse with water:
- Hold each filter under running water in a sink or bathtub.
- Gently squeeze and rinse until all visible dirt and residue are removed.
- Avoid using harsh detergents or chemicals as they can damage the filters.
- Air-dry completely:
- Shake off excess water from each filter.
- Place them in a well-ventilated area away from direct sunlight.
- Allow them to air-dry completely before reinstalling (usually takes 24 hours).
- Reinstall filters:
- Once dry, reinsert both foam and felt filters back into their designated slots in the filter compartment.
- Ensure they fit snugly without any gaps or misalignment.
- Clean other parts:
- While you have your filters out, take this opportunity to clean other removable parts like brushes, hoses, and attachments according to manufacturer guidelines.
- Regular maintenance: Keeping your shark vacuum in optimum condition requires regular maintenance such as emptying the dust cup after each use and checking for blockages in suction pathways.
By following these simple steps, you can easily clean your shark vacuum filter and keep your vacuum performing at its best. Remember, regular maintenance is the key to a long-lasting and efficient vacuum cleaner.
So, whether you’re dealing with daily pet hair battles or simply maintaining a clean home, don’t forget to give your shark vacuum filter some TLC and enjoy the benefits of a fresh and efficient cleaning experience.
Remember, always refer to your specific model’s manual for detailed instructions on cleaning and maintenance procedures as they may vary slightly between models.
By following these simple steps, you can ensure that your shark vacuum continues delivering powerful suction and efficient cleaning results for years to come.

