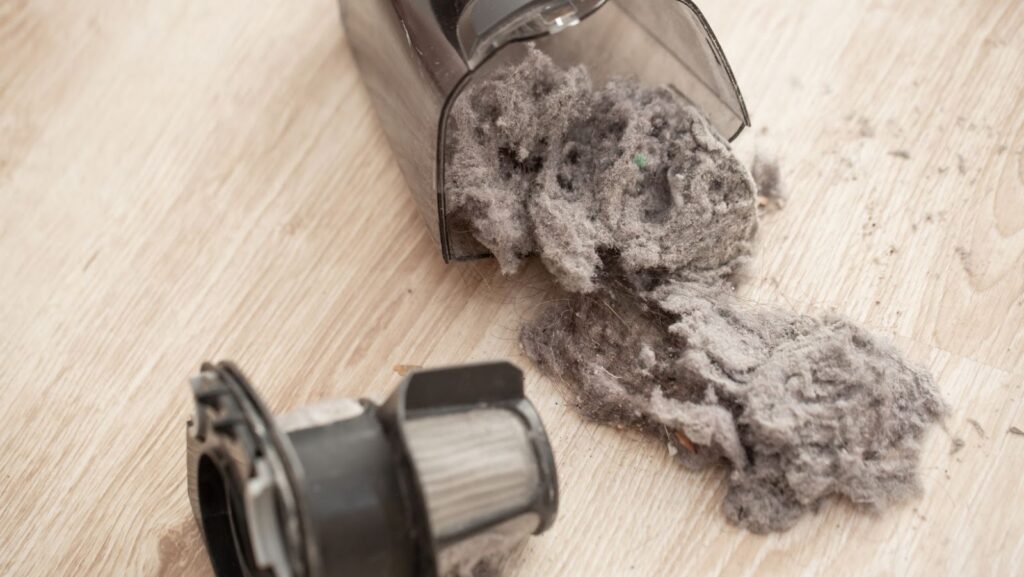
Emptying a Shark vacuum is an essential task to maintain its optimal performance. In this article, I’ll guide you through quick and easy steps on how to empty a Shark vacuum efficiently.
To start, locate the dust cup of your Shark vacuum. It’s usually positioned at the front or back of the device, depending on the model. Once you’ve found it, press the release button or latch to unlock the dust cup from the main body of the vacuum.
Next, carefully remove the dust cup by pulling it away from the vacuum. Take note not to tilt or shake it vigorously as this may cause debris to scatter. Instead, hold it over a trash bin and gently tap it to loosen any trapped dirt and particles.
Now that you have emptied most of the debris, it’s time to give your dust cup a thorough cleaning. Remove any remaining dust or hair by using a soft brush or cloth. For stubborn dirt buildup, you can rinse the cup with warm water (if specified in your vacuum’s manual) and allow it to dry completely before reattaching.
Contents
Table of Contents
ToggleHow to Empty Shark Vacuum
Emptying your Shark vacuum is an essential maintenance task that ensures optimal cleaning performance and prolongs the lifespan of your appliance. In this section, I’ll guide you through quick and easy steps to properly empty your Shark vacuum.
Step 1: Power Off and Unplug
Before emptying your Shark vacuum, it’s crucial to turn off the power and unplug it from the electrical outlet. This step guarantees safety during the process.
Step 2: Locate the Dust Cup
The dust cup is where all the dirt, debris, and pet hair collected by your Shark vacuum are stored. It’s usually located at the front or side of the unit. Look for a latch or release button that unlocks the dust cup.
Step 3: Remove and Empty the Dust Cup
Once you’ve located the dust cup release mechanism, press or slide it to detach the dust cup from the main body of your Shark vacuum. Carefully carry it over to a trash bin or bag.

Step 4: Dispose of Dirt and Debris
To dispose of dirt and debris from the dust cup, hold it over a garbage bin or bag with one hand while using your other hand to press down on its bottom release button or lever. This will open up the bottom trapdoor, allowing contents to be easily emptied out.
Step 5: Cleanse with Water (if applicable)
If your model allows for water rinsing, rinse out any remaining fine particles in warm water until clean. Be sure to follow manufacturer instructions regarding water usage for specific models as not all Shark vacuums can be rinsed with water.
Step 6: Dry Thoroughly
After rinsing (if applicable), shake off excess moisture from both parts – dust cup and filter – before leaving them somewhere dry for at least 24 hours. Ensure they’re completely dry before reinstalling them into your vacuum.
Step 7: Reassemble and Resume Cleaning
Once the dust cup is dry, reattach it firmly back onto the main body of your Shark vacuum. Ensure it’s secured properly before plugging in and powering on your appliance. Now you’re ready to resume your cleaning tasks with a freshly emptied Shark vacuum!
Remember, regularly emptying your Shark vacuum’s dust cup not only improves its overall performance but also prevents clogs and maintains suction power. By following these quick and easy steps, you’ll keep your Shark vacuum in top-notch condition for years to come.

