Table of Contents
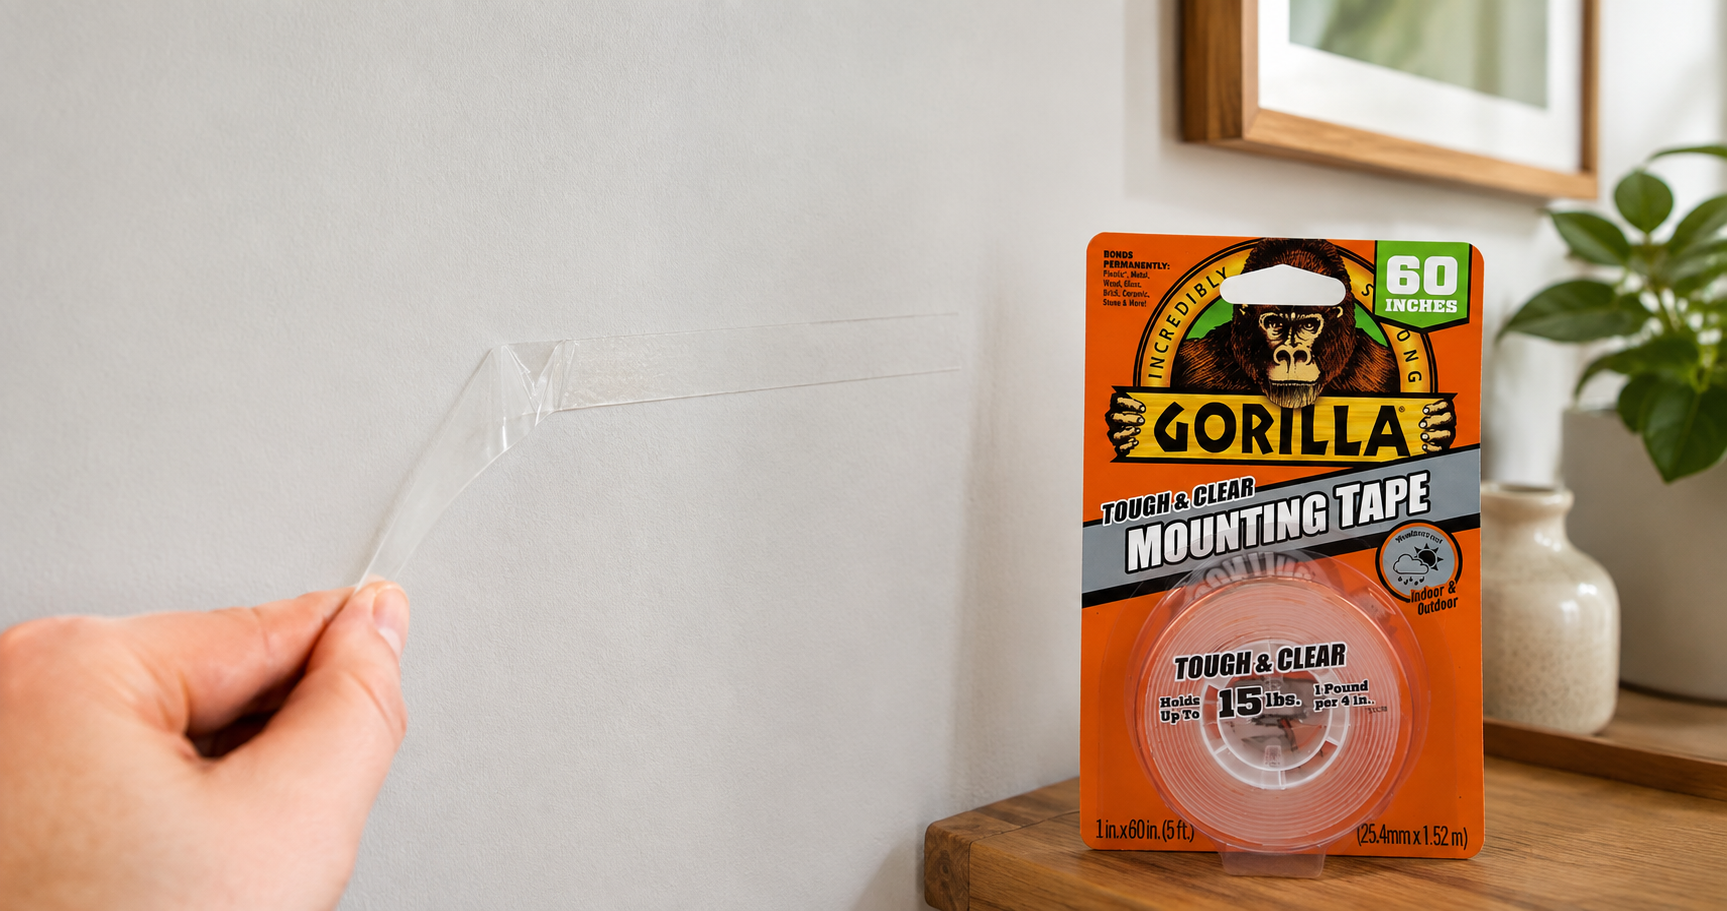
ToggleThere’s a particular kind of dread that comes with peeling mounting tape off a wall, especially if you’re renting and your bond is riding on the paintwork looking untouched. You press a fingernail under the edge, give it a tug, and half expect a chunk of paint to come away with it. Fair enough too, mounting tape holds on stubbornly by design, sometimes for years, and that same strength works against you the moment you want it gone. The good news is that removing it cleanly is mostly about technique, not muscle. Get the method right and even a properly stuck-down strip will let go without taking the wall’s finish with it. If you’re setting something up fresh rather than fixing an old mess, have a look at Gorilla’s range of mounting tape squares and strips first, because picking the right product now saves you this exact headache later.
Contents
Why Mounting Tape Grips Paint So Well
Mounting tape isn’t like your average sticky tape. It’s usually a foam or acrylic core sandwiched between two adhesive layers, built to spread load evenly and resist heat, moisture and vibration. Brilliant for hanging a mirror, less brilliant when you’re trying to get it off again. The adhesive doesn’t just sit on the paint, it partially bonds into it, especially on older paint where the top coat has gone slightly porous. Rip it off fast and you’re fighting the paint’s grip on the wall, not just the tape. That’s the bit most people get wrong, treating it like ripping off a bandaid when it needs coaxing off slowly instead.
Soften the Adhesive Before You Touch It
Heat is your best friend here. A hairdryer on its warm setting, held about ten centimetres from the tape for thirty seconds or so, loosens the bond enough to make everything else easier. You’re not trying to melt anything, just warm the adhesive until it turns slightly gummy rather than rock hard. Work along the strip rather than blasting one spot. Skip this step and you’re relying on brute force, which is exactly how paint ends up peeling.
Get Under It With Dental Floss, Not Your Fingernails
Once the tape is warm, here’s the trick that makes the real difference: slide a length of unwaxed dental floss or fishing line behind the tape, right at the wall surface, and gently saw it back and forth as you work along the strip. It cuts the bond from the wall side without you picking or scraping at anything. Fingernails, by comparison, dig into the paint itself, which is exactly how flakes end up under your nails instead of stuck to the tape.
Pull at a Low Angle and Let Patience Do the Work
When you do peel, pull the tape back over itself at as shallow an angle as you can manage, almost parallel to the wall, rather than straight out. Go slow. A low-angle pull spreads the stress across the tape instead of concentrating it in one spot, which is what causes sudden tears and paint lift. If you feel resistance or hear paint crackle, stop, warm that section again, and work the floss through before continuing. Rushing the last few centimetres is where most damage happens, so don’t get impatient near the end.
Deal With Leftover Residue Without Making It Worse
Even with a clean pull, you’ll often be left with a faint residue or shadow. Resist the urge to scrub at it with a scourer or a harsh solvent, because on painted surfaces that dulls the sheen or strips colour along with the glue. Warm soapy water and a soft cloth handles most residue if you let it soak in for a minute first. For stickier leftovers, a little eucalyptus oil on a cloth works well, though test an inconspicuous patch before you commit. Wipe rather than rub in circles, and let the wall dry before deciding if it needs anything more.
If Paint Does Lift, Here’s the Honest Fix
Sometimes, despite doing everything right, a small fleck of paint still comes away, particularly on walls painted with cheaper trade paint or not touched up in years. Don’t panic, and don’t try to disguise it with more tape, because that never ends well come inspection day. A tiny chip usually fixes with a fine artist’s brush and a small pot of matching paint, feathered at the edges rather than dabbed on thick. For anything bigger than a five cent piece, a proper patch and repaint looks far better than a cotton-bud fix. If you’re renting, flag it to your property manager before they notice, most are understanding about an honest heads up.
Choose Better Tape Next Time and Prep the Wall Properly
The easiest way to avoid this whole exercise is thinking ahead before you stick anything up. Lighter jobs like small frames or hooks generally don’t need more than a crystal clear mounting square, which comes away more predictably than a heavier-duty option. Save the tougher, weatherproof tapes for jobs that genuinely need it, like outdoor fittings or anything holding real weight. Surface prep matters just as much as the tape, so clean off dust and grease first, and if the paint is newer than about four weeks, give it longer to cure. Fresh paint hasn’t hardened enough to resist an aggressive bond.
The Bottom Line
Removing mounting tape without wrecking the paint underneath comes down to three things: warm it, work it loose with floss rather than force, and pull low and slow. Do that and residue becomes a five-minute clean-up rather than a repaint. The bigger lesson is that most of this hassle is avoidable from the start, by matching the tape to the job and giving the wall time to cure before you commit to anything. Next time you’re hanging something up, take the extra thirty seconds to pick the right strength tape for the task. Your future self, and your bond, will thank you.