Table of Contents
ToggleWant your renovated space to feel fresh without compromising your health?
Homeowners spend billions of dollars on renovations every year. There’s nothing better than that brand new bathroom or kitchen feeling.
But there’s one thing most people overlook…
Post-Renovation cleanup is serious stuff. If renovations dust and debris isn’t taken care of properly, it can linger in your home for months.
The dust gets into your lungs. It coats every surface in your home. And it floats around in your air for weeks.
Cleaning up doesn’t have to be daunting. But it does need to be done correctly.
Contents
What You’ll Learn
- The Danger Of Post-Renovation Dust
- Cleaning Tips: A Step By Step Process
- Things To Consider When Sanitizing Your Bathroom
- Do You Need To Hire Professionals?
- Maintaining Your Clean Air Supply
The Danger Of Post-Renovation Dust
This will come as a shock to some of you…
Normal household dust and renovation dust are two different things.
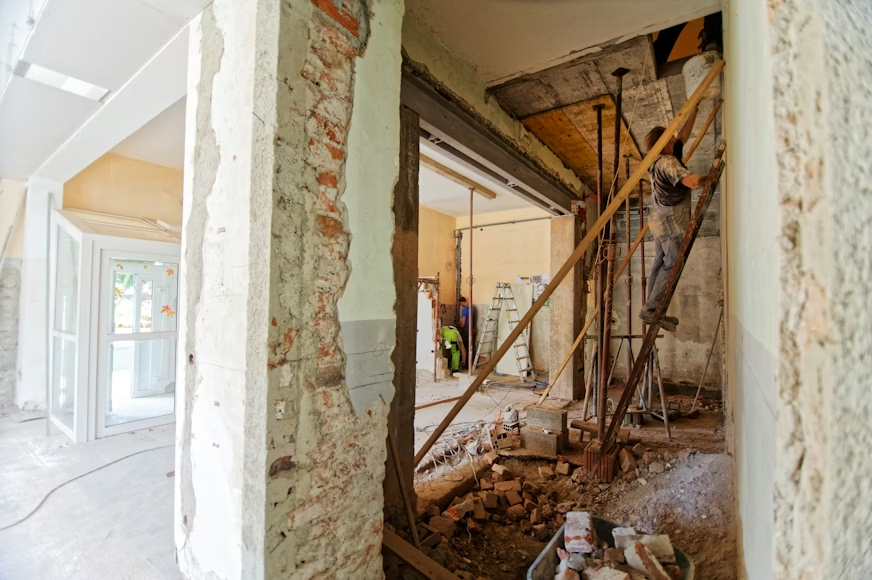
Drywall, concrete, and wood all release ultra-fine particles when disturbed. Some renovation jobs also expose older dust like lead paint or asbestos fibres.
Did you know the EPA says people spend about 90% of their time indoors?
Your indoor air quality matters more than you think. When dust particles are small enough, they get deep into your lungs and cause damage.
Keeping that dust out of your home and lungs long-term is crucial. Breathing in too much of it while the renovation is happening can cause health problems. Irritation to the skin, nose and throat are common.
Proper ventilation during renovations is important. But it does not substitute for an adequate post-build cleaning.
Kitchens and bathrooms pose an even bigger threat. Ceramic tile grout and thin spaces collect dust quickly. Regular wiping won’t get rid of lingering debris.
That’s exactly why a bathroom sanitization service from Karla Maids Cleaning Services after a renovation is so important for keeping your family safe.
Take home message? Don’t forget about the renovation cleanup. Especially if you had bathrooms renovated.
Cleaning Tips: A Step By Step Process
Grab your nearest vacuum and wipe down the counters? Think again.
Post-build cleaning requires forethought and proper equipment.
Let’s go through the steps…
Head to the top of the room. For dusted surfaces like ceilings, wipe downwards if possible. Don’t waste time cleaning things that will just need to be cleaned again.
- Dry dust as much as possible – Microfiber towels are your friends here. Wet dust makes mud. You’ll never have a ‘finished’ look if you introduce moisture too soon.
- Vacuum with a HEPA filter – Nope, the vacuum you’re using to collect pet hair isn’t cut out for this job. Hours of work undone. Spend a few bucks on a quality HEPA vacuum or hire professional cleaners that use them.
- Mop Floors – Once you’ve vacuumed, run over the entire floor with a damp mop.
- Dust air vents and heating ducts – DIY build cleaners forget about these hidden dangers. Renovation dust loves to settle in your HVAC system. Soon enough, every time you turn on the heat or AC… you’ll be pumping debris through your home.
Easy enough right? Start at the top. Dust. Vacuum. Mop.
You can’t skip steps when post-renovation cleaning. Otherwise, you’ll be doubling your efforts.
Things To Consider When Sanitizing Your Bathroom
Bathroom renovations are extremely common. But dust loves to settle in tile grout and air vents.
Regular dusting won’t fix the hidden problems. Bathroom sanitization professionals pay special attention to grout lines. They also know where else dust accumulates.
Don’t let fine debris linger after your renovation. Hire a bathroom sanitization service after any work is done.
Cleaning debris from fixtures should be on your to-do list too. Small holes found in shower heads and faucets are notorious for collecting grit. A simple flush with water can prevent clogs later on.
Do You Need To Hire Professionals?
Not every renovation requires a professional cleaning crew.
If a painter was in your home and they did a great job containing the dust, you likely won’t need help. Small projects that don’t upset too much dust can be managed on your own.
But if any of the following applied to your renovation? Hire a pro.
- Drywall was installed or removed
- Lead paint/asbestos may have been disturbed
- Multiple rooms were involved in the renovation
- Heating and cooling vents were exposed
According to home industry research company, NARI, Americans spent $603 billion on home remodeling in 2024 alone. That comes out to a lot of dust particles floating around.
Vacuuming your home with improper tools after renovations just won’t cut it.
Professional cleaners use industrial strength vacuums and cleaning products. This equipment costs money, but is worth every penny compared to your overall renovation budget.
Not to mention, trained cleaners know where hidden dust accumulates.
Maintaining Your Clean Air Supply
Believe it or not, there’s one more thing you can do after renovations.
Did you clean your HVAC filter after the renovation? Fine dust can remain in the air for weeks if ventilation systems are not sealed off.
Run air filters in your renovated rooms. Keeping the air clear of debris helps catch lingering dust.
You should also change your HVAC filters one more time. About two weeks after the renovation cleaning is finished.
Open windows as often as possible. Fresh air flow can help reduce particles in the air as well.
Wiping down surfaces isn’t a bad idea either. A simple wipe every few days for the first couple of weeks doesn’t hurt.
If anyone in your home starts coughing or feeling irritated after renovations. Take notice. The likelihood is your home wasn’t properly cleaned.
Wrapping Up
Congratulations on your newly renovated home! But wait… there’s one more step.
Cleaning up after renovations is arguably more important than the renovation itself.
Why?
You don’t want to be inhaling dust particles weeks down the road. Follow these simple tips and you’ll be set.
- Start cleaning from the top of your rooms and work your way down.
- Dust first, then vacuum with a HEPA filter vacuum cleaner
- Mop Hard Floors
- Bathroom sanitization is critical after renovations
- Don’t be afraid to hire professional cleaners
- Check your air quality for a few weeks after work is completed
Enjoy your hard work! Now you get to spend time in your clean, safe home.