Table of Contents
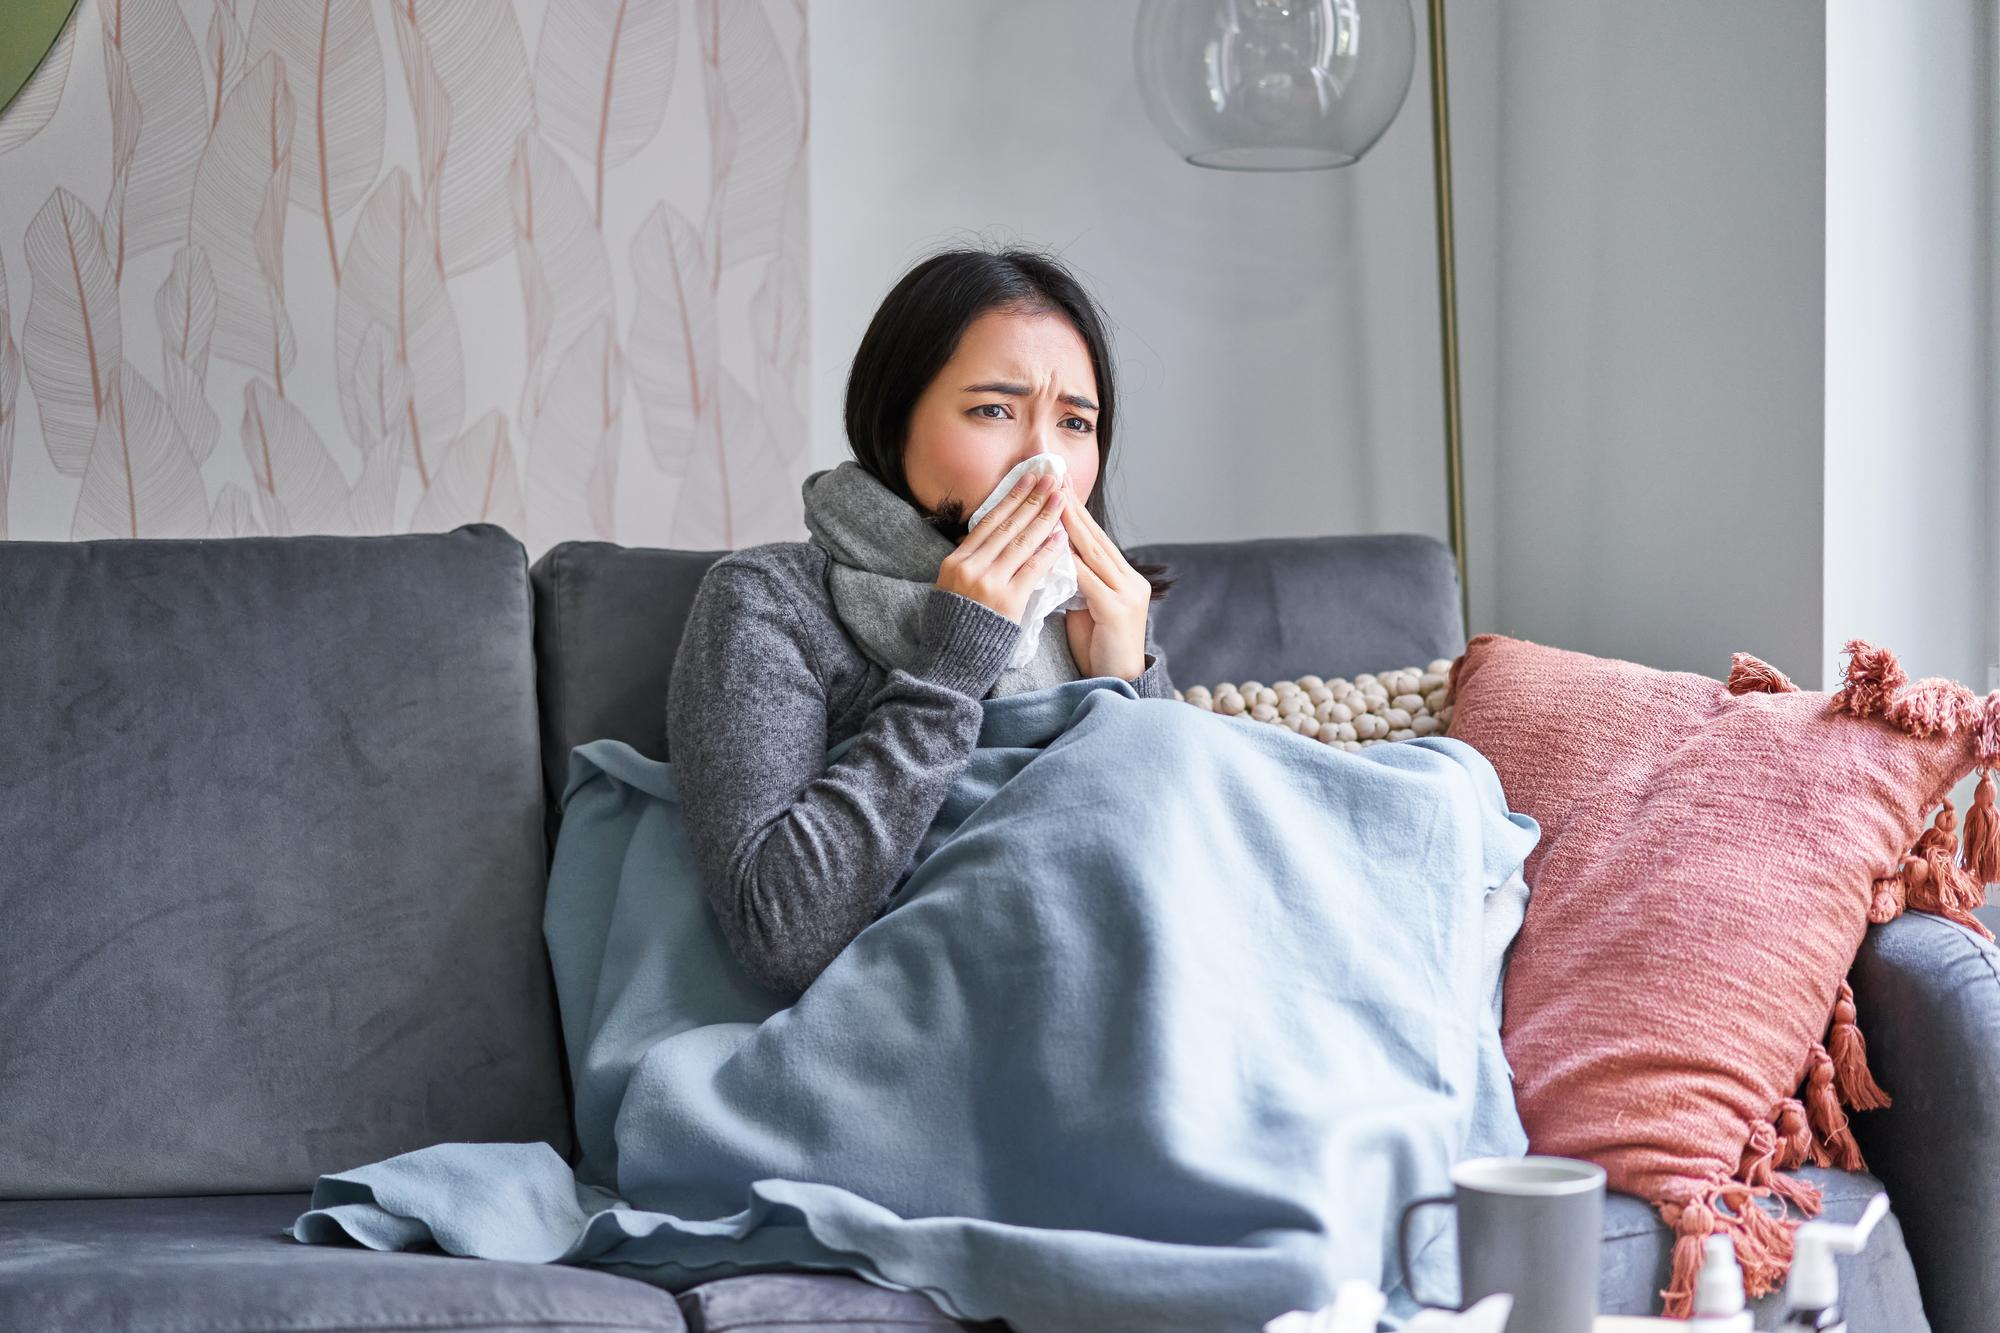
ToggleWhile we have just passed the peak of cold and flu season, the risk isn’t over just yet! As the weather warms up, you start to make plans, and pick up a more energetic routine, it is important to take precautions to prevent infection. Here’s where having a recovery room in your home can truly pay off.
If someone in your home is sick, a designated recovery space can help limit the spread of germs and make healing a little easier for everyone involved. Let’s break down how to set up a practical, easy-to-clean recovery room that puts infection control first.
Contents
Choose the Right Room for Recovery
Start by picking a room that offers as much separation as possible from high-traffic areas. A guest room with a door is ideal, but if that’s not available, section off a quiet corner using a screen or curtain.
Aim for a space close to a bathroom to cut down on trips through shared living zones. Don’t underestimate the power of natural light: windows that let in sunlight can lift spirits and help neutralize some germs!
Go for Washable and Easy-to-Disinfect Surfaces
The fewer porous and cluttered surfaces, the less chance germs have to hide. Move out fabric furniture that can’t be easily laundered, and avoid placing carpets and rugs that can lead to hidden dirt and germs.
Use wipeable bedside tables, vinyl or leather seating, and bring in extra pillows with removable (and washable) covers. Small touches, like using a plastic tray for personal items and covering remotes or devices with stretch wrap, make it easier to quickly sanitize daily.
Ventilation Makes a Major Difference
Good airflow helps dilute and move airborne particles away from the recovery area. Crack a window open for a few minutes several times a day, or run an air purifier with a HEPA filter close to the patient’s bed.
If it’s chilly or allergy season, at least turn on a ceiling or portable fan set to pull air away from the sickbed. The EPA states that even small improvements in ventilation can significantly cut the risk of contracting respiratory viruses. Plus, opening the windows or using a portable fan is a simple step that nearly anyone can manage.
Daily Sanitizing: Routine and Tools
Sanitization is essential to prevent germs from spreading! Set up a basic cleaning kit with disinfecting wipes, gloves, and a small trash bin just for the recovery room. Wipe down high-touch surfaces at least once every 24 hours, including doorknobs, light switches, remotes, tabletops, and bathroom handles.
If you have family members who suffer from recurring infections or are at risk of serious complications (for example, if they are on immunosuppressants, struggle with a weak immune system, or have underlying issues) consider learning more about sanitation. Take a step further by signing up for a clinical assistant certification program and learn key concepts to keep your loved ones safe.
Smart Laundry Handling
Dirty laundry that piles up can create an unhygienic environment and spread germs. To avoid this, designate a specific hamper for the recovery room. Use a washable liner or bag that can be laundered with the other items. Throughout the process, wear disposable gloves and carry the clothes directly to the washing machine. Use the warmest setting possible for sheets, towels, and pajamas.
Create a Bedside Hygiene Caddy
A caddy keeps essentials close without needing help from others. Stock it with hand sanitizer, masks, tissues, a thermometer, disposable gloves, lip balm, and a refillable water bottle.
Having everything in arm’s reach helps the patient rest and cuts down on unnecessary trips through shared spaces. If symptoms worsen, include medications and a notepad for medication reminders.
Extra Tips for a Safer Recovery Zone
- Provide fresh masks each day for anyone entering the room.
- Limit visitors, rotating just one primary caretaker if possible.
- Swap out water bottles or mugs daily, and wash thoroughly in hot, soapy water.
- Keep electronics for the sick room only, or clean with alcohol wipes between uses.
- Place a small sign on the door as a reminder for hand sanitizing before entry and exit.
Adopting minor infection control habits at home doesn’t need to feel clinical: even small changes add up to safer spaces for everyone!
Home Recovery Done Right
A clean, comfortable recovery room is a gift to both the person who’s sick and the rest of your household. For more practical home wellness tips, read our latest guide to cleaning routines that help families stay healthy through every season!